Connect with us

Video

⚠️ WARNING! Your Samsung Phone Is Sharing Your Data (How to Stop It Now)

Published

on

In an era where digital privacy is more precious than ever, many Samsung Galaxy users are unknowingly handing over a treasure trove of personal information. A recent investigation reveals a hidden setting deep within One UI that quietly transmits sensitive data—including device details, app usage patterns, location history, and network information—directly to Samsung and Google. If you value your privacy, this is a wake-up call you cannot afford to ignore.

The Hidden Data Collection You Didn’t Know About

Behind the sleek interface of your Samsung Galaxy phone lies a feature called “Diagnostic and Usage Data.” When enabled—and for most users, it is by default—this setting allows Samsung and Google to collect and analyze a wide range of metrics. According to the video, the information shared includes your device model, operating system version, app crash logs, usage frequency, and even approximate location. This isn’t just harmless telemetry; it’s a detailed profile of your digital behavior.

Building on this, the consent terms for this data sharing are often buried in lengthy agreements that few people read. The video’s creator highlights that many users accept these terms without realizing they’ve granted permission for ongoing background tracking. As a result, your phone becomes a silent informant, reporting your habits to corporate servers every day.

Step-by-Step: How to Stop Samsung Data Sharing

Fortunately, reclaiming your privacy is straightforward if you know where to look. The video provides a clear, actionable guide to disable both Samsung and Google diagnostic tracking in just a few minutes.

Step 1: Disable Samsung Diagnostic Data Collection

Navigate to **Settings** > **Privacy** > **Send diagnostic data**. Here, you’ll find a toggle that enables Samsung to collect device information and app usage. Simply switch it off. The video warns that this setting may be labeled differently on older One UI versions, so check carefully.

Step 2: Turn Off Google Usage & Diagnostics

Next, go to **Settings** > **Google** > **Privacy** > **Usage & diagnostics**. This is where Google tracks your app activity, battery performance, and system health. Tap to disable it. The creator emphasizes that this step is equally critical because Google and Samsung share data through their partnership.

Step 3: Review and Optimize

After disabling both, the video recommends reviewing other privacy settings, such as location permissions and ad personalization. A final optimization tip: clear your app cache and restart your device to ensure the changes take effect.

Why This Matters for Your Digital Privacy

In addition to the immediate benefit of stopping unwanted data collection, disabling these settings reduces the amount of personal information available for targeted advertising and potential data breaches. Every piece of data you keep private is a small victory against the pervasive surveillance economy.

However, it’s important to note that some diagnostic data helps improve software stability and security patches. The video acknowledges this trade-off but argues that the default opt-in model is unfair. Users should have the choice to contribute—not be automatically enrolled. Therefore, taking control of your Samsung data sharing is an act of digital self-defense.

Final Thoughts: Watch and Act Now

If you own a Samsung Galaxy phone, don’t wait until your data is misused. The video walks you through every step with timestamps for quick reference, making it easy to follow along. By disabling these hidden settings, you can significantly enhance your device privacy without sacrificing functionality.

Watch the full tutorial below to see exactly how to stop Samsung and Google from tracking your every move. Then, share this knowledge with friends and family—because privacy is a right, not a privilege.

Continue Reading
Click to comment

Leave a Reply

Your email address will not be published. Required fields are marked *

Video

The Perfect Raspberry Pi Wall Dashboard? Hands-On with the New Touch Display 2

Published

on

Raspberry Pi wall dashboard

There is something deeply satisfying about turning a single-board computer into a dedicated wall-mounted control panel. For years, Raspberry Pi enthusiasts have dreamed of a sleek, affordable touchscreen that can run Home Assistant, display homelab metrics, or serve as a smart home hub. The newly released Raspberry Pi Touch Display 2 promises to make that dream a reality. But does it deliver the perfect Raspberry Pi wall dashboard?

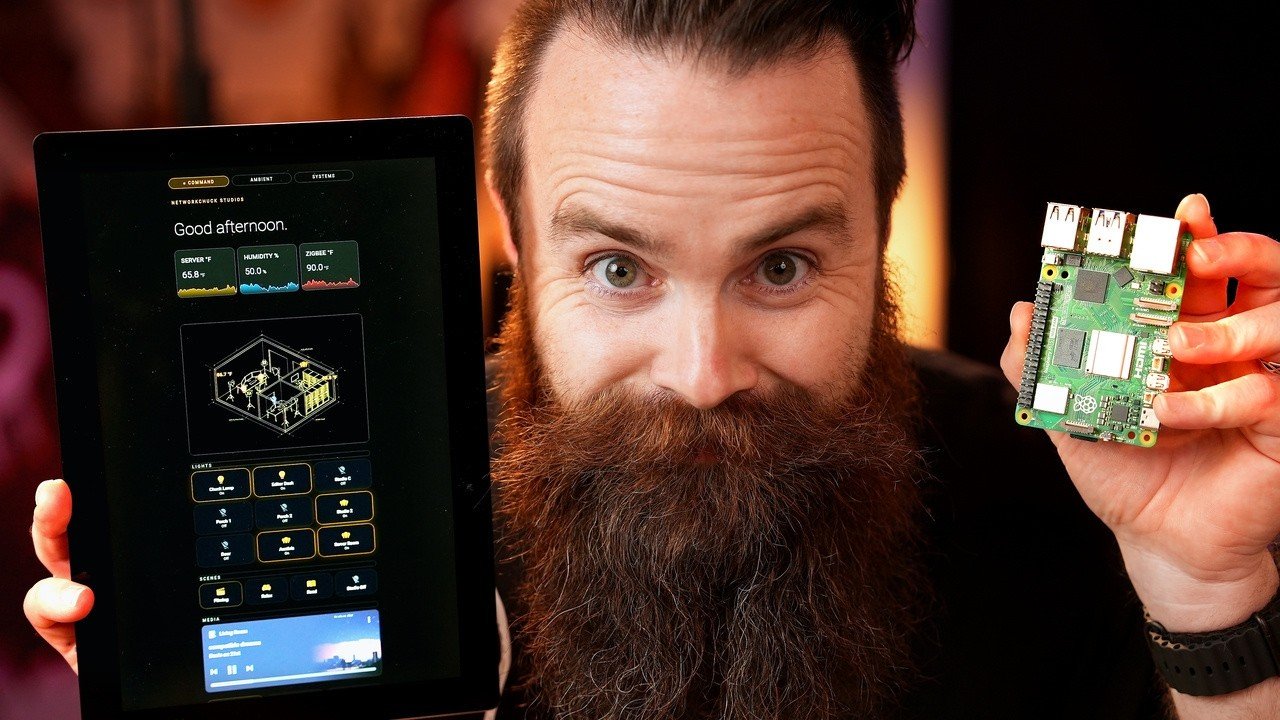
In a recent hands‑on video, NetworkChuck unboxes the 10‑inch portrait version of this display, walks through the setup process, and ultimately builds a polished Home Assistant kiosk. The verdict? This display is gorgeous, reasonably priced at $80, and surprisingly easy to mount. However, there is one major catch that might disappoint owners of older Raspberry Pi models.

What Makes the Touch Display 2 Stand Out?

The first thing you notice about the Touch Display 2 is its build quality. It features a 1200×1920 IPS panel with 400 nits of brightness and true 10‑finger multitouch. Compared to the original Raspberry Pi touchscreen, this is a massive upgrade. The colors are vibrant, the viewing angles are wide, and the screen is responsive. For a $80 display, it punches well above its weight.

But the real question is whether this display can serve as the foundation for a reliable Raspberry Pi wall dashboard. The answer is yes — provided you are using the right hardware. The Touch Display 2 only works with the Raspberry Pi 5 and the Compute Module 5. If you are still running a Pi 3 or Pi 4, you are out of luck. This is a deliberate design choice: the new display uses a higher bandwidth interface that older models cannot support.

The Setup Hurdle: Firmware Update Required

Building on the excitement of unboxing, many users will hit a wall when they first power on the display. As NetworkChuck discovered, the screen lights up but shows nothing. The culprit? An outdated EEPROM firmware on the Raspberry Pi 5. The fix is straightforward: you need to update the bootloader and firmware via `rpi-eeprom-update`. Once that is done, the display springs to life.

This step is not mentioned in the quick‑start guide, so it is easy to miss. However, once you know about it, the process takes only a few minutes. In addition, you may need to enable the DSI interface in `config.txt`. After that, the Touch Display 2 works flawlessly.

Building the Ultimate Home Assistant Wall Dashboard

Once the display is working, the next step is turning it into a functional dashboard. The video showcases TouchKio, an open‑source kiosk application that runs on Raspberry Pi OS Lite. It boots directly into a full‑screen browser, which can be pointed at your Home Assistant instance. The result is a dedicated wall panel that looks clean and professional.

TouchKio is lightweight and configurable. You can hide the cursor, disable screen blanking, and even set a custom URL for automatic login. For a Raspberry Pi wall dashboard, this is a killer combination. The display’s 10‑finger touch support means you can interact with Home Assistant cards, toggle lights, and check sensors without any lag.

Mounting and Practical Considerations

Mounting the Touch Display 2 on a wall is surprisingly simple. The display comes with VESA mounting holes, so you can attach it directly to a standard wall plate. NetworkChuck used a drill and a few screws to secure it to his studio wall. The result is a flush, clean installation that looks like a commercial smart home panel.

However, there are a few things to keep in mind. The display requires a separate power supply (5V/3A recommended) and a ribbon cable connection to the Raspberry Pi 5. If you are mounting the Pi behind the display, you will need to manage cable routing carefully. Also, the display does not include a case, so you may want to 3D‑print or buy a bezel to protect the edges.

Is This the Perfect Raspberry Pi Wall Dashboard?

For anyone building a smart home or homelab setup, the Raspberry Pi Touch Display 2 is an excellent choice. It offers high‑resolution visuals, responsive touch, and an affordable price. Combined with TouchKio and Home Assistant, it creates a dedicated wall dashboard that rivals commercial solutions costing hundreds of dollars.

The only downside is the hardware requirement. If you already own a Raspberry Pi 5, this is a no‑brainer. If you are still on a Pi 4, you may need to upgrade. But given the performance boost of the Pi 5, that upgrade is worthwhile anyway.

To see the full unboxing, firmware fix, and dashboard setup in action, watch the video above. It is the best way to decide if this display is right for your next project.

Continue Reading

Video

Top 10 High Paying Online Jobs With The Most Demand Right Now

Published

on

high paying online jobs

The remote work revolution is far from over. While some fret about AI stealing roles, the truth is that the digital economy is creating new high paying online jobs faster than ever. A recent deep dive by career expert Shane Hummus reveals exactly which roles are booming right now — and many of them don’t require a traditional degree.

In his latest video, Hummus breaks down the top 10 high paying online jobs that employers are desperately trying to fill. But this isn’t just another listicle. He unpacks why certain careers are surging, how to break into them from scratch, and which roles are actually becoming more valuable thanks to AI.

Why These High Paying Online Jobs Are Exploding

Building on the idea that every dying job creates several new ones, Hummus argues that automation isn’t shrinking the job market — it’s reshaping it. As routine tasks get automated, companies need humans to manage systems, interpret data, and connect dots. This shift is fueling demand for roles that didn’t even exist three years ago.

For example, he highlights the “translator” role every data-rich company is missing. This isn’t about languages — it’s about bridging the gap between raw data and business decisions. Similarly, the “digital bouncer” job (cybersecurity) is hiding in plain sight, protecting companies from threats that multiply daily.

The Blueprint for Launching a Remote Career

One of the most valuable parts of the video is the exact blueprint for launching these high paying online jobs from scratch. Hummus emphasizes that you don’t need expensive certifications or years of experience. Instead, he points to specific platforms and strategies that can get you hired quickly.

He also introduces the concept of the “quarterback” role — a virtual assistant or project manager who coordinates remote teams. This role is secretly wearing five different job titles, making it accessible to anyone with strong organizational skills.

AI Didn’t Kill These Careers — It Filtered Out the Fakes

A common fear is that AI will replace human workers. However, Hummus argues that AI has actually made certain high paying online jobs more valuable. He explains that AI tools can handle repetitive tasks, but they still need humans to set strategy, handle nuance, and build relationships.

For instance, the sales career path he discusses is often overlooked but incredibly lucrative. Sales roles that require empathy, negotiation, and trust-building are harder to automate. Similarly, technical writing and UX design have become more critical as companies roll out AI-powered products.

The Hardest Job on the List — And Why It’s Worth Chasing

Hummus doesn’t sugarcoat the challenges. He identifies one role that is the hardest to break into but offers the highest rewards. This job requires a unique combination of technical skills and creativity, but the earning potential is massive.

He also shares a real job posting that will make you rethink everything you know about remote work. The posting reveals that many companies are willing to pay top dollar for skills that aren’t taught in traditional schools.

The One Habit That Changes Everything

To wrap up, Hummus shares the one habit that can transform any career trajectory: continuous learning. He emphasizes that the most successful remote workers invest in themselves daily, whether through online courses, networking, or side projects.

If you’re ready to explore these high paying online jobs and learn how to land one, the full video is packed with actionable insights. Watch the complete breakdown above to see which role fits your skills and start your journey toward a flexible, lucrative remote career.

Continue Reading

Video

Don’t Buy the Samsung Galaxy Z Fold 8 Until You Watch This: Best Deals and Buying Tips

Published

on

Samsung Galaxy Z Fold 8 deals

The Samsung Galaxy Z Fold 8 is shaping up to be one of the most anticipated foldable phones of the year, but rushing to pre-order could cost you hundreds of dollars. A new video from tech insider Sakitech reveals exactly how to snag the lowest price on both the Z Fold 8 and the Z Fold 8 Ultra, along with exclusive incentives that many buyers miss. If you’re planning to upgrade, this guide is essential viewing.

Why You Shouldn’t Pre-Order the Z Fold 8 Without This Info

Pre-ordering a flagship phone often feels like a race against time, but it’s a race you can win with the right strategy. In the video, the host explains that Samsung’s official trade-in program can slash up to $1,200 off the price of the Z Fold 8—a deal that’s easy to overlook if you click “buy” too quickly. However, there’s a catch: not every trade-in offer is equal, and the best discounts are often hidden behind specific retailer links or coupon codes. Building on this, the video walks viewers through a step-by-step process to stack discounts, including a $200 discount without any trade-in and a $100 coupon code via PayPal.

How to Get the Best Samsung Galaxy Z Fold 8 Deals

Trade-In Offers: Up to $1,200 Off

Samsung’s trade-in program is the cornerstone of the best Z Fold 8 deals. The video highlights that you can trade in almost any smartphone—even older models—to get a substantial credit toward the foldable. For instance, trading in a recent Galaxy S24 Ultra or an iPhone 15 Pro Max can net you the maximum $1,200 discount. But here’s the insider tip: the trade-in value often depends on the condition of your device and the current promotion. The host recommends checking the provided affiliate links (like the ones at bit.ly/3RtJRGM and bit.ly/3RP4gGA) to see real-time trade-in estimates before committing.

No Trade-In? No Problem: $200 Off

Not everyone has a phone to trade in, but that doesn’t mean you’re stuck paying full price. The video reveals a direct $200 discount available to all buyers, regardless of trade-in status. This is a rare offer that many retailers don’t advertise prominently. In addition, using the coupon code “PAYPAL100” at checkout shaves off another $100, bringing the total savings to $300 for those without a trade-in. As a result, the effective price of the Z Fold 8 drops significantly, making it more competitive with other foldables like the Google Pixel Fold or the OnePlus Open.

Choosing Between the Z Fold 8 and Z Fold 8 Ultra

A key decision buyers face is whether to go for the standard Z Fold 8 or the more premium Z Fold 8 Ultra. The video breaks down the differences: the Ultra model boasts a larger cover display, a more powerful camera system, and a slightly thinner design. However, these upgrades come at a higher price tag. The host advises that unless you’re a power user who needs the best camera or the extra screen real estate, the standard Z Fold 8 offers excellent value—especially when you factor in the available discounts. Therefore, watching this comparison before buying is crucial to avoid overpaying for features you may not use.

Watch the Full Video for Exclusive Pricing Tips

To get the full breakdown of the best Samsung Galaxy Z Fold 8 deals, including step-by-step instructions on how to claim the $1,200 trade-in, the $200 no-trade-in discount, and the $100 PayPal coupon, you need to watch the video. The host also covers potential pitfalls, such as selecting the wrong model or missing out on limited-time offers. Don’t let a rushed purchase cost you hundreds—click play now and save big on your next foldable phone.

Continue Reading

Trending