Connect with us

How To

6 ‘Dumb’ Household Appliances You Can Add to Your Smart Home—and How to Do It Properly

Published

on

dumb household appliances

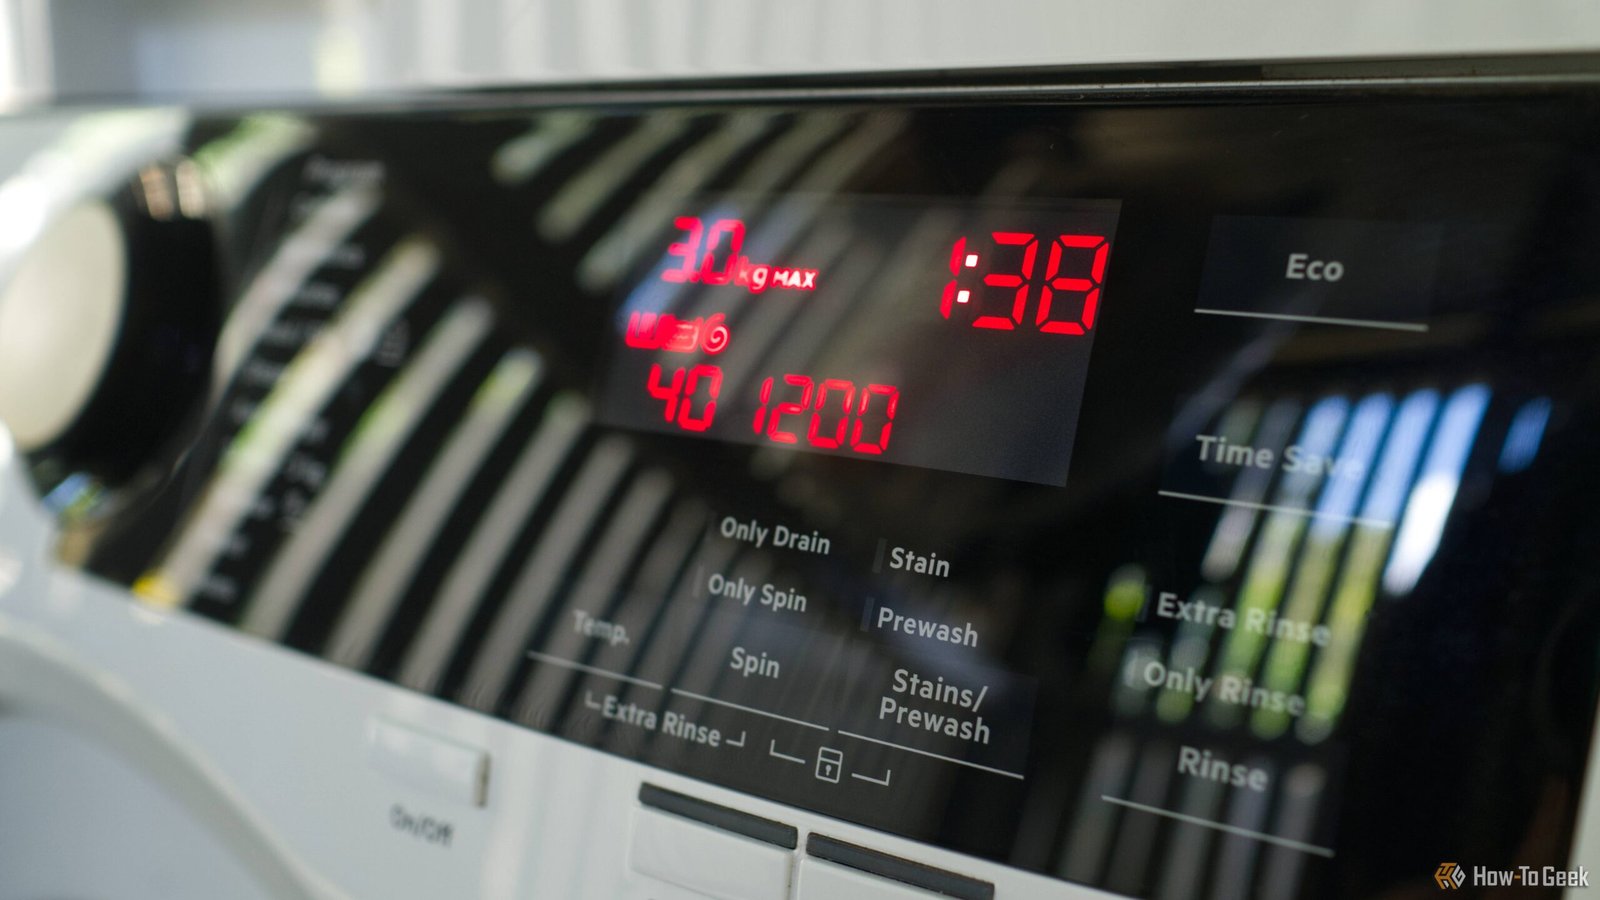
Why Your ‘Dumb’ Appliances Deserve a Second Life

You don’t need to throw out every old appliance to build a smart home. In fact, some of the most reliable gadgets in your house—the ones with simple switches and no Wi-Fi—can become surprisingly intelligent with a bit of clever wiring. The trick is knowing which ones work and how to connect them without frying anything.

Below are six dumb household appliances that adapt beautifully to automation, plus the exact steps to make them respond to your voice, phone, or schedule.

1. Lamps and String Lights

This is the easiest win. Any lamp with a mechanical on/off switch—not a touch sensor or dimmer dial—can be made smart by plugging it into a smart plug. Leave the lamp switch in the on position, then control power through the plug. You’ll get scheduling, voice commands via Amazon Alexa or Google Assistant, and remote toggling from your phone.

Pro tip: For string lights, use a smart outdoor plug rated for weather exposure. Wrap the connection point with electrical tape to keep moisture out.

What to avoid

Don’t use a smart plug with a lamp that has a built-in dimmer or electronic touch sensor. Those circuits expect constant power and can behave erratically—or buzz loudly—when cut off by the plug.

2. Box Fans and Space Heaters

A basic box fan or ceramic space heater with a physical knob is a great candidate for smart control. Plug it into a heavy-duty smart plug rated for 15 amps (most standard smart plugs handle only 10). Then set a timer to turn the fan on an hour before you wake up, or schedule the heater to shut off when you leave for work.

Safety first: Never automate a space heater that lacks an automatic shut-off tip-over switch. And never leave a smart heater unattended for long periods. Use the schedule to turn it off automatically, not on, unless you’re home.

3. Coffee Makers

If your coffee maker has a simple mechanical switch—push it down to brew, push again to stop—you can automate morning coffee. Fill the reservoir and grounds the night before, flip the switch to on, and plug it into a smart plug. Set a routine: “Good morning” triggers the plug at 6:45 AM.

One catch: Some coffee makers have a safety feature that resets the switch after a power interruption. Test yours by plugging it into a timer and seeing if it actually brews when power returns. If it doesn’t, this trick won’t work.

4. Slow Cookers and Rice Cookers

Similar logic applies to countertop cookers. A basic slow cooker with a dial (Low, High, Warm) can be turned on remotely via a smart plug. Fill it in the morning, set the dial to Low, and schedule the plug to activate a couple of hours before dinner.

Warning: Don’t use this for recipes that require precise timing or food safety. The USDA recommends cooking meat to a safe temperature within two hours, so only automate recipes you know are safe to start later. A better use: using the smart plug to switch a slow cooker to “Warm” after it finishes cooking, if your model lacks a built-in timer.

5. Window Air Conditioners

Window AC units with mechanical knobs (not digital touchpads) can be automated with a smart plug rated for the unit’s amperage. Most window units draw 7–12 amps, so use a heavy-duty smart plug or a smart switch rated for 15 amps. Set the AC to “Cool” and the fan to “High,” then control it through the plug.

You won’t get temperature sensing this way—the unit will run full blast until you turn it off. Pair it with a separate Google Nest temperature sensor in the same room, then create a routine: “If the room hits 78°F, turn on the AC plug.” That gives you basic thermostat-like control without buying a new smart AC.

6. Garage Door Openers

Not strictly an appliance, but a common “dumb” device that can go smart with a garage door controller kit. These small modules wire into your existing opener’s terminals (usually the same ones the wall button uses). Once connected, you get open/close control from your phone, plus alerts if the door is left open.

Installation tip: Most kits work with openers made after 1993 that have standard safety sensors. Check your opener’s manual for the terminal layout. You’ll typically connect two wires from the smart controller to the same screw terminals as your wall button. No soldering required—just a screwdriver.

Choosing the Right Smart Plug for the Job

Not all smart plugs are created equal. For the appliances above, here’s a quick cheat sheet:

  • Basic indoor smart plug (10A): Lamps, string lights, coffee makers, slow cookers.
  • Heavy-duty smart plug (15A): Box fans, space heaters, window AC units.
  • Smart switch (hardwired): For permanent fixtures like garage openers or outdoor outlets.

Always check the amperage rating on your appliance’s nameplate. If it exceeds the plug’s rating, don’t risk it—overheating can cause fires.

One Rule to Keep Everything Safe

The golden rule of automating dumb appliances: only automate devices with physical, mechanical switches. If the switch clicks or rotates, it’s probably safe. If it’s a touch button, digital display, or remote control, the appliance needs constant power to maintain its internal state—cutting power with a smart plug will reset it to standby, not turn it on.

Follow that rule, and you can turn almost any old device into a smart home component without spending a fortune or replacing perfectly good gear. That’s the real win.

Continue Reading
Click to comment

Leave a Reply

Your email address will not be published. Required fields are marked *

Social Media

X gets serious about content theft: AI detection, revenue reclamation, and creator suspensions

Published

on

stolen content

X gets serious about content theft: AI detection, revenue reclamation, and creator suspensions

For years, reposting someone else’s viral tweet, video, or meme has been a reliable path to likes, followers, and—since X launched its creator revenue-sharing program—actual money. That ride is now over. X is rolling out a suite of aggressive measures to detect stolen content, redirect payouts back to original creators, and boot repeat offenders from its monetization program entirely.

The platform’s latest weapon is an upgraded version of its Grok AI model. According to Nikita Bier, who works on X’s creator monetization team, the new model can identify duplicated content at three times the rate of the previous version. That means reposted tweets, copied videos, and lifted text posts are far more likely to be flagged—even if the thief tries to disguise them.

How the new detection system works

Grok AI isn’t just looking for exact matches. Bier says the system now catches content that has been lightly altered—watermarks added, intro sequences tacked on, or other superficial edits meant to make stolen material look original. All of those tricks, he explained, will now result in monetized impressions being reassigned to the original uploader instead of the thief.

This extends beyond video. Copies of viral text posts are also being targeted. Bier noted that one of the most commonly stolen phrases on the platform is, “Twitter is like the smoking section of the internet”—proof, he joked, that people still call the app Twitter.

X has already detected 1.5 million stolen posts in its latest detection cycle. Bier didn’t specify the exact timeframe, but the scale suggests the problem is massive. The financial impact is significant too: over $1 million in creator payouts will now be redirected back to the original creators of that stolen content.

Bots and engagement bait are also in the crosshairs

Content theft and engagement manipulation often go hand-in-hand with bot networks. X says it has been ramping up bot enforcement as well. In April, Bier stated the platform was identifying and suspending 208 bots per minute—and that number is still climbing.

Engagement bait—posts that explicitly ask for follows, replies, or likes in exchange for something—is another priority. X’s updated policy says that repeated or intentional attempts to circumvent the new rules will result in removal from the creator program. Specifically, if a user is caught three times or more engaging in practices like saying “I’ll follow everyone who replies,” their account will be removed from monetization and forwarded to the policy team for potential suspension.

Bier has been vocal about engagement bait for a while. He even called out top creator MrBeast for consistently using financial incentives to drive views—a tactic Bier argues undermines genuine organic reach on the platform.

What this means for creators

For original creators who have seen their work reposted by larger accounts without credit or compensation, these changes are a long-overdue win. X’s new video editor and recorder, rolled out earlier this year, was already an attempt to push creators to post original content using X’s own tools. Now the platform is backing that up with enforcement.

But the crackdown also raises questions. How accurate is Grok AI’s detection? False positives could penalize legitimate reposts, quote tweets with commentary, or parody accounts. X hasn’t detailed an appeals process for creators who believe their content was wrongly flagged.

There’s also the question of scale. 1.5 million stolen posts is a lot, but X processes billions of posts daily. The platform will need to keep investing in detection infrastructure to stay ahead of bad actors who are constantly adapting.

A broader industry trend

X isn’t alone in fighting content theft. Instagram, Facebook, and Reddit have all implemented technical measures to discourage reposting without credit. Tools that detect when a user has republished someone else’s work without attribution are becoming standard across major social platforms.

What’s different about X’s approach is the direct financial penalty. By redirecting revenue rather than just removing the stolen post, X creates a tangible cost for thieves and a concrete reward for original creators. That could be a powerful deterrent—if the detection is accurate and consistent.

For now, creators who rely on reposting viral content as a growth strategy will need to rethink their approach. The era of free-riding on someone else’s work for profit on X is ending. The question is whether the platform can execute this crackdown fairly and at scale.

Continue Reading

How To

I ditched Samsung’s default gestures and built my own — now my phone feels twice as fast

Published

on

custom phone gestures

Why default gestures didn’t cut it anymore

When you unbox a new Samsung Galaxy phone, you probably spend the first hour tweaking the obvious stuff. Wallpaper. App layout. Maybe the always-on display. But navigation gestures? They come baked in, and most people never touch them. I didn’t either — until I switched to a bigger device.

That’s when the reach problem hit me. Swiping from the bottom edge on a 6.7-inch screen meant repositioning my entire grip. The default three-gesture setup (back, home, recent apps) felt designed for smaller hands. I wanted something custom phone gestures that actually fit how I held the phone.

So I rebuilt the whole system. It took about 30 minutes. The payoff? My phone genuinely feels snappier now.

The tool that made it possible: Good Lock and NavStar

Samsung doesn’t advertise this, but buried inside its Good Lock app suite lies a module called NavStar. It’s part of the One UI customization family, and it gives you granular control over the navigation bar. You can change button order, add extra actions, and — crucially — tweak gesture sensitivity and trigger zones.

What NavStar lets you do that the default settings don’t

  • Adjust the gesture handle size and position — make it taller, shorter, or move it left or right.
  • Add custom actions to long-press gestures — like launching the camera or toggling split-screen.
  • Change the back gesture zone — widen or narrow the area that triggers a back swipe from either side.
  • Hide the gesture hint bar entirely — reclaiming that sliver of screen real estate.

The key insight? Default gestures assume one-size-fits-all. They don’t. On a large phone, the back gesture on the left edge is fine — but the recent-apps swipe from the bottom center? That’s a thumb-stretch every single time.

How I rebuilt my navigation flow — step by step

I started by installing Good Lock from the Galaxy Store (it’s free, but region-locked in some countries — a VPN can bypass that). Then I opened NavStar and turned off the stock gesture hints.

Next, I mapped the three core actions — back, home, recent apps — to gestures that don’t require moving my hand. Here’s what I landed on:

  • Back: Swipe from the left edge (default, but I widened the trigger zone by 20% in NavStar).
  • Home: Swipe up from the bottom-left corner (not the center).
  • Recent apps: Swipe up from the bottom-right corner.

That small shift — moving the home and recent-apps gestures to the corners — eliminated the need to reach across the screen. My thumb stays planted on the lower half. It’s a minor change, but it saves fractions of a second on every interaction. Over a day, that adds up.

I also added a long-press on the home gesture to open the notification shade. One less reach to the top of the screen.

The speed difference is real — here’s why

It’s not just about comfort. Custom phone gestures reduce cognitive load. When every swipe lands exactly where you expect, your muscle memory builds faster. You stop thinking about the gesture itself and focus on the task.

On Samsung’s default setup, I’d occasionally trigger the wrong action — swiping up for recent apps when I wanted home, or accidentally hitting the back gesture. After customizing, those errors dropped to near zero. The phone started feeling like an extension of my hand, not a device I had to adapt to.

And there’s a measurable benefit: fewer mistriggers mean fewer wasted seconds. Over a week, I probably saved 10–15 minutes of frustration alone.

What about third-party gesture apps?

Apps like Gesture Control and Fluid Navigation Gestures offer even deeper customization — things like custom swipe paths or app-specific gestures. I tried a few. They work, but they can conflict with Samsung’s system gestures. You’ll sometimes get double-inputs or lag.

The advantage of NavStar is that it’s native. No battery drain, no accessibility service hacks, no weird permissions. If you want simple, reliable custom phone gestures without third-party baggage, Samsung’s own tool is the safer bet.

Should you try this? A quick checklist

If any of these sound familiar, it’s worth the 30-minute setup:

  • You constantly shift your grip to reach the bottom of the screen.
  • You accidentally trigger the back gesture when typing.
  • You wish the gesture bar were smaller — or gone entirely.
  • You use your phone one-handed most of the time.

One warning: once you get used to custom gestures, going back to stock feels clunky. I tried resetting to default for a day. It lasted three hours before I reverted.

Your phone’s navigation doesn’t have to be a compromise. A few tweaks, and it can feel like it was built for your hand — not the other way around.

Continue Reading

How To

I Ditched My eero Router for UniFi, and the Best Feature Didn’t Cost Me a Dime

Published

on

UniFi vs eero

The Moment I Knew I Had to Switch

It started with a simple frustration: my eero mesh system kept dropping the 5 GHz band on my office devices. I’d reboot the gateway, wait five minutes, and everything would work again — until the next day. For months, I blamed my ISP. Then I borrowed a friend’s UniFi access point. Within an hour, I knew I wasn’t going back.

But here’s the thing nobody tells you about switching to UniFi: the best part isn’t the hardware. It isn’t the speed, the range, or even the fancy dashboard. It’s a feature that costs exactly zero dollars. And it completely changed how I think about my home network.

What I Gave Up (and What I Gained)

Let’s be honest — eero is convenient. You plug it in, download an app, and you’re online in ten minutes. The parental controls work well enough. The guest network is simple. For the average household, it’s fine.

But I’m not average. I run a home office with a NAS, multiple VLANs, and a dozen IoT devices. I need visibility. I need control. And eero’s subscription model was starting to grate on me. Want advanced traffic shaping? That’s $9.99 a month. Want detailed logs? Pay up. Want to see which device is eating all your bandwidth? Hope you like the basic pie chart.

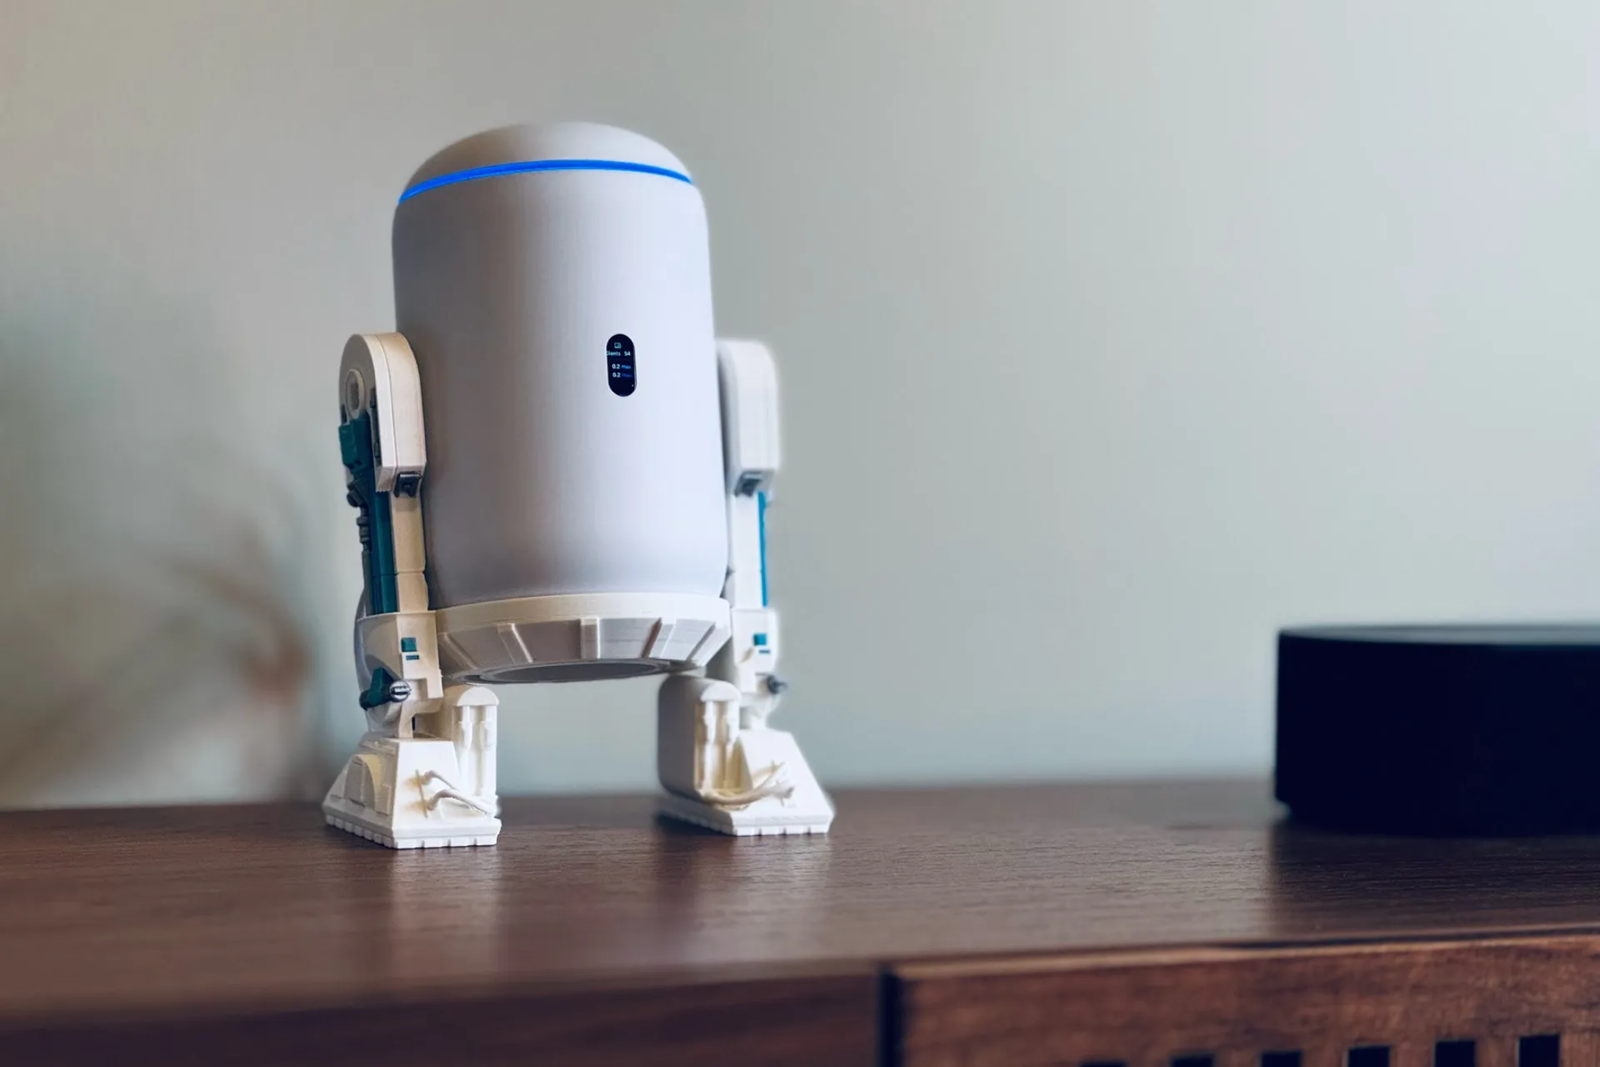
UniFi, by contrast, handed me a full network management suite — for free. The UniFi Network Application runs on a local controller (or a cloud key). It gives me real-time traffic graphs, per-device bandwidth usage, historical data, and deep packet inspection. No subscription. No upsell. Just data.

The Free Feature That Won Me Over

It’s called the UniFi Network Dashboard, and it’s included with every UniFi gateway and access point. But the specific tool that made me a convert? The Traffic Identification feature.

This thing categorizes every packet on my network by application. I can see that my kid’s tablet is streaming YouTube, my smart thermostat is phoning home to its cloud server, and my work laptop is using Microsoft Teams — all in real time. No guesswork. No third-party software. And yes, completely free.

On eero, I had to pay $99 a year for eero Secure to get even basic traffic categorization. And even then, the feature was limited. UniFi’s implementation is more granular, more transparent, and — again — doesn’t cost a cent.

Setting Up UniFi: Easier Than I Expected

I won’t lie — the initial setup is more involved than eero. You need a UniFi gateway (I went with the UniFi Dream Machine), an access point, and the controller software. But the process is well-documented, and the community forums are excellent.

Once it’s running, the management interface is a dream. You can create multiple SSIDs, assign VLANs, set bandwidth limits per device, and even run a captive portal for guests. All from a web browser or the mobile app. No subscription fees. No hidden costs.

For anyone who’s ever felt locked into a monthly fee just to see what’s happening on their own network, this is liberating.

The Hidden Costs of eero’s Subscription Model

Let’s do the math. eero Secure costs $99/year. Over five years, that’s $495. For a feature set that UniFi vs eero comparison shows is actually less capable than what UniFi gives you for free.

eero also limits your ability to run third-party firmware or even change basic settings like DNS without a subscription on some models. UniFi, on the other hand, gives you full SSH access, SNMP support, and the ability to run your own DNS server. The openness is refreshing.

And if you ever want to expand your network, UniFi hardware is generally cheaper per access point than eero’s nodes. The total cost of ownership tilts heavily in UniFi’s favor — especially if you factor in the free software.

Is UniFi Right for You?

Honestly? Not everyone. If you just want a router that works without thinking about it, stick with eero. The setup is simpler, the app is polished, and the hardware is reliable.

But if you’re the kind of person who likes to see what’s happening on your network — who wants to know why the internet feels slow at 8 PM, or who wants to block TikTok for the kids without paying a monthly fee — then UniFi vs eero isn’t even a fair fight.

UniFi gives you professional-grade tools at consumer prices. And the best tool, the one I use every day, didn’t cost me a dime.

That’s a deal I’ll take every time.

Continue Reading

Trending