Video
7 Ridiculously Basic YouTube Niches Making Thousands Per Month: A Deep Dive


How To5 hours ago
Instagram for Beginners: A Complete Guide to Getting Started

Artificial Intelligence5 hours ago
Google’s New Gemini TV Controls Are Here — and TCL Owners Get Them First

How To5 hours ago
India’s 5G Revolution: Spectrum Auction Set for July 2022

CyberSecurity4 months ago
LeakBase Data Breach Forum Seized in Major Europol Operation

CyberSecurity4 months ago
Zero-Day Attacks Hit Record High as Enterprise Software Becomes Prime Target

CyberSecurity3 months ago
Russian Hackers Target WhatsApp and Signal in Global Espionage Campaign

Video8 hours ago
5 Steps to Picking a YouTube Niche That Can Make You Rich Using Claude AI

Video9 hours ago
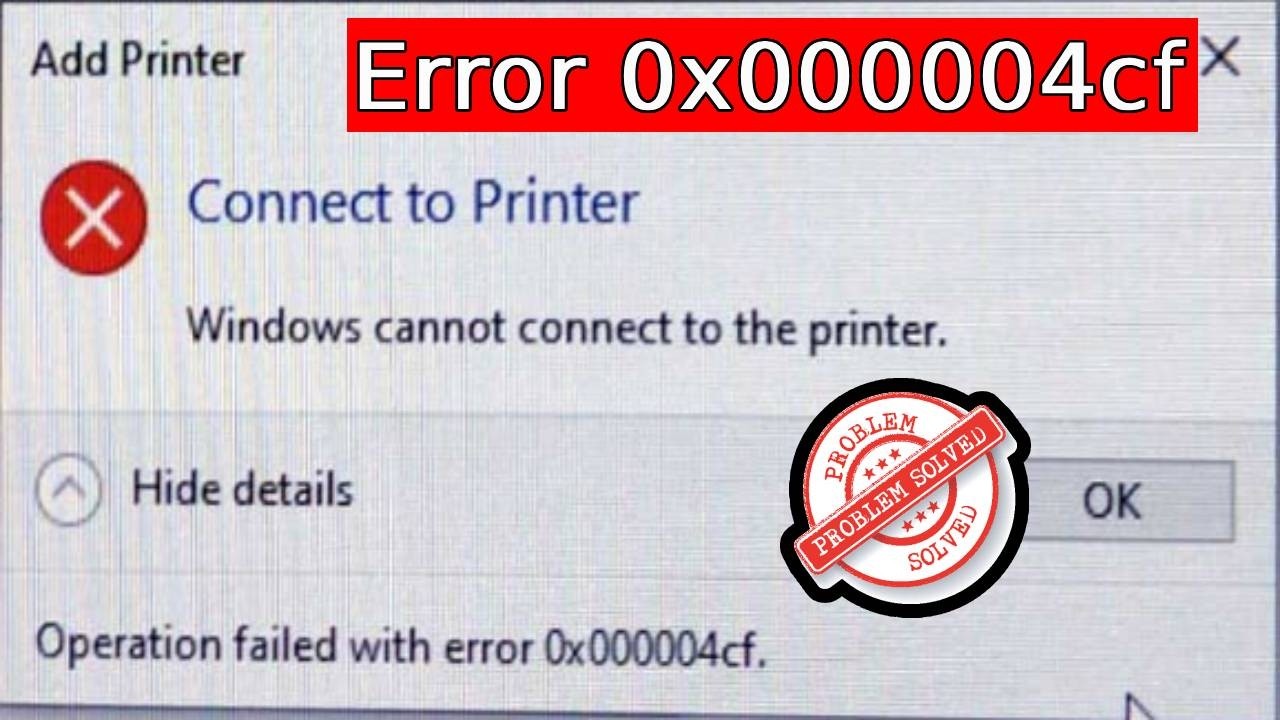
How to Fix ‘Operation Failed With Error 0x000004cf’ – Windows Cannot Connect to the Printer

Video1 day ago
5 Claude AI Skills That Pay More Than a College Degree: A Roadmap to High-Income Independence
-
 CyberSecurity4 months ago
LeakBase Data Breach Forum Seized in Major Europol Operation
-
 CyberSecurity4 months ago
Zero-Day Attacks Hit Record High as Enterprise Software Becomes Prime Target
-
 CyberSecurity3 months ago
Russian Hackers Target WhatsApp and Signal in Global Espionage Campaign
-

 Social Media3 months ago
YouTube Live Streaming API: A Developer’s Guide to Managing Live Broadcasts
-

 Infosecurity3 months ago
Cybersecurity Communication: Why Fear-Based Messaging Fails and What Works
-

 CyberSecurity4 months ago
Cyber 150 Awards Reveal AI Security Startups Are Leading Industry Growth
-

 CyberSecurity4 months ago
ContextCrush Vulnerability: How a Trusted AI Tool Became an Attack Vector
-

 How To2 months ago
The Truth About Fast Charging Apps for Android: Can They Speed Up Your Battery?