Connect with us

How To

I Asked Claude, ChatGPT, and Gemini to Build a Password Generator—One Crushed It

Published

on

password generator test

The Setup: Same Prompt, Three AIs, One Job

I’ve been leaning on AI for coding more and more. The thrill of watching a chatbot spit out a working script in seconds never quite fades. But after a while, you start wondering: is this code actually any good? Or just good enough to look impressive in a demo?

So I ran a little experiment. I gave Claude, ChatGPT, and Gemini the exact same prompt: build a password generator. No extra hints, no follow-up clarifications. Just a straightforward request, the kind a beginner might type.

The results were revealing. One tool clearly outperformed the others—not just in how the code ran, but in how it was written.

What I Asked For

The prompt was simple: “Create a password generator in Python that lets the user choose the length and whether to include uppercase letters, lowercase letters, numbers, and symbols.”

That’s it. No mention of security best practices, no demand for comments, no request for a fancy interface. Just a functional generator.

The Results: A Clear Winner

Claude came out on top. Its code was not only functional but secure. It used Python’s secrets module instead of the random module—a detail that matters a lot when you’re generating passwords. The secrets module is designed for cryptographic use, while random is not. That single choice shows a level of awareness that the others lacked.

Claude also handled edge cases gracefully. It asked the user for input, validated it, and even allowed for the possibility of excluding all character types—a scenario that could break a less careful implementation. The code was clean, commented, and easy to follow.

ChatGPT: Solid, But With a Flaw

ChatGPT’s version worked. It generated passwords, let you pick the length, and included the usual options. But it relied on the random module. That’s a problem. For a password generator, using random is like using a paper lock on a steel door—it looks fine from the outside, but it’s not actually secure.

To be fair, ChatGPT’s code was readable and well-structured. A beginner would learn a lot from it. But if you were planning to use that generator for real passwords, you’d be taking a risk.

Gemini: Functional, But Underwhelming

Gemini’s output was the least impressive. It worked, sure, but the code felt clunky. It didn’t handle input validation as well, and the structure was harder to follow. It also used random, so it had the same security issue as ChatGPT.

What stood out most was the lack of polish. The code wasn’t commented, and the logic was a bit tangled. It would get the job done, but you wouldn’t want to maintain it.

Why This Matters for Anyone Using AI to Code

This isn’t just about password generators. It’s about what happens when you trust AI to write code without checking it. The differences between these three tools are subtle but significant. Claude’s choice to use secrets shows a deeper understanding of the problem. The others treated it as a simple exercise.

For developers—especially beginners—this is a reminder to look beyond whether the code runs. Ask yourself: is it secure? Is it maintainable? Does it handle edge cases? If you’re not sure, get a second opinion or test it thoroughly.

What to Look For in AI-Generated Code

  • Security: Does it use appropriate libraries and practices?
  • Error handling: What happens when the user inputs something unexpected?
  • Readability: Would another developer understand it easily?
  • Edge cases: Does it break when given unusual inputs?

In my test, only Claude passed all four checks.

Final Verdict: Claude Wins This Round

If you’re looking for an AI coding assistant that produces production-ready code, Claude is the one to beat. It’s not just about the password generator—it’s about the mindset. Claude seems to approach problems with security and best practices in mind, even when not explicitly asked.

ChatGPT and Gemini are still solid tools. For quick scripts or learning exercises, they’re perfectly fine. But when the stakes are higher—when you’re building something that handles sensitive data—you want an AI that thinks like a developer, not just a code generator.

This was one test, with one prompt. But it’s a useful data point. If you’re curious about AI code comparison or secure coding practices, this is a good place to start. And if you’re using AI to write code, take the time to review it. A few extra minutes could save you a major headache later.

Continue Reading
Click to comment

Leave a Reply

Your email address will not be published. Required fields are marked *

Social Media

Snapchat’s New ‘Now Playing’ Feature Lets Friends See Your Music in Real Time

Published

on

Snapchat Now Playing

Snapchat Now Playing: A New Way to Share Music

Snapchat is rolling out a feature called Snapchat Now Playing that lets you share the music you’re listening to in real time. The feature lives inside Snap Map, the location-sharing layer that already has over 450 million monthly users. It starts with Spotify, but more streaming services could follow.

Here’s the gist: link your Spotify account, and your current track appears on your Snap Map profile. Friends can tap to see what you’re playing. They can also see what their friends are listening to, right now, not some curated playlist from last week.

How Snapchat Now Playing Works

The setup is simple. Connect Spotify to Snapchat, and your listening activity shows up on Snap Map. You control who sees it — everyone, friends, or a custom list. There’s no listening history and no last-played track. Just the current song.

One catch: sharing stays active only if you’ve opened Snapchat in the past 24 hours. Go quiet for a day, and sharing pauses automatically. Open the app again, and it resumes. You can also pause manually for three hours, 24 hours, or indefinitely.

Discovering Songs in Spotlight

The feature isn’t limited to Snap Map. Spotlight, Snapchat’s short-form video feed, also integrates with Now Playing. If you hear a song you like in a Spotlight video, you can save it directly to Spotify. Or visit the track’s page on Spotify to add it there.

That’s a smart move. TikTok has shown how viral sounds can shape charts, and Snapchat is clearly trying to capture some of that energy without building a full music platform.

Why Snapchat Is Getting Into Music Sharing

Snap Map started in 2017 as a way to see friends’ locations and browse public Snaps. Over the years it’s added local hotspots and activities. Now it’s becoming a music discovery tool.

Manny Adler, Snapchat’s head of music, put it this way: “Music is one of the most personal ways people express themselves, and it becomes even more meaningful when it brings friends closer. Now Playing adds a new layer of expression and discovery to Snap Map.”

Snapchat isn’t alone here. Instagram Notes music sharing lets users attach a song to their status updates. TikTok music discovery has been a chart force for years, letting users save songs from videos to streaming platforms. Even Spotify itself launched a real-time sharing feature for friends.

What This Means for Music Discovery

The social music space is getting crowded. But Snapchat has a unique angle: it’s built around close friends, not public feeds. That could make Now Playing feel more intimate than a public playlist or a viral TikTok sound.

Think about it. You see a friend is playing a song you’ve never heard. You tap it, save it, and now you’re both listening to the same track. That’s a different kind of discovery — one driven by personal connection, not algorithms.

Rollout and Availability

The feature is rolling out to users in regions where both Spotify and Snapchat are available. Canada is next on the list. No word yet on other streaming services, but given the pattern, it’s reasonable to expect more integrations down the line.

For now, if you’re a Spotify user and a Snapchat regular, this is worth trying. Open Snap Map, link your account, and see what your friends are playing. You might find your next favorite song.

Privacy and Control

Privacy was clearly on the team’s mind. You can choose exactly who sees your listening activity. And since there’s no history, nothing lingers after you stop sharing. The 24-hour inactivity pause is a nice touch — it prevents your music from being visible when you’re not actually using the app.

That’s more thoughtful than some other social features. Instagram’s Notes, for example, shows your status until you change it. Snapchat’s approach gives users more control over their digital footprint.

So, ready to share your soundtrack? Snapchat Now Playing is live now. Connect Spotify, pick your audience, and let your friends hear what you’re hearing.

Continue Reading

How To

Google Messages Doesn’t Back Up Your Texts by Default — One Setting Fixes That

Published

on

Google Messages backup

Your texts are more fragile than you think

Here’s a scenario that plays out more often than it should: you get a new phone, sign into your Google account, and expect everything to just… appear. Photos come back. Contacts come back. But your text messages? Crickets.

That’s because Google Messages doesn’t back up your conversations by default. It’s a startling gap in an otherwise polished app — and most people don’t realize it until they’ve already lost something important.

The fix is a single toggle buried in the settings. Flip it once, and you’ll never have to worry about losing your SMS or RCS history again.

Why Google Messages skips automatic backups

Unlike iMessage, which syncs your chats to iCloud as part of its default setup, Google Messages takes a more hands-off approach. The app assumes you’ll either rely on Google’s general device backup or handle things manually.

That assumption creates a real problem. Google’s standard Android backup — the one tied to your Google Drive — doesn’t always capture SMS and RCS threads in a way that’s easy to restore. And if you’ve ever wiped a phone or switched devices, you know the pain of staring at an empty messaging app.

The good news? Google built a dedicated backup feature into Messages itself. It’s just not switched on out of the box.

How to turn on Google Messages backup

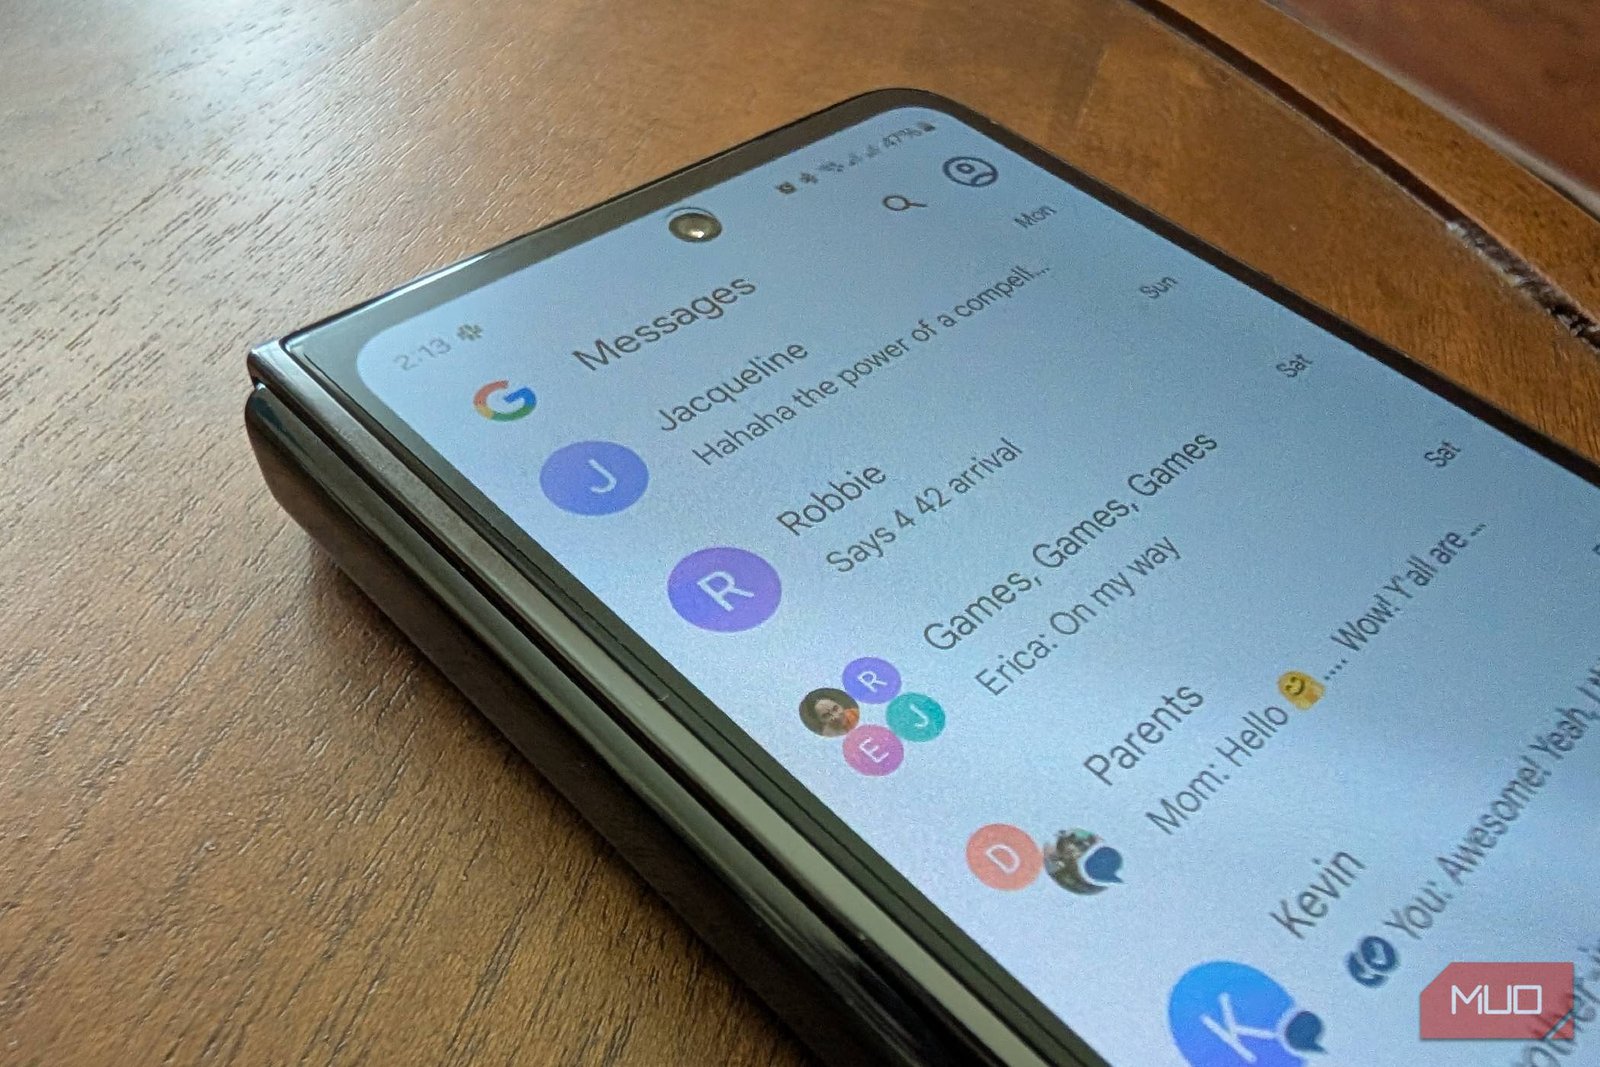
Open Google Messages on your Android phone. Tap your profile picture in the top-right corner, then head to Messages settings. From there, select Chat features — that’s where the magic happens.

Scroll down until you see Backup & sync. Toggle it on. That’s it. Your conversations will now be saved to your Google account, and you can restore them when you set up a new device.

A few things to keep in mind:

  • You need a Google account signed in on the device for the backup to work.
  • RCS chats are included, not just standard SMS texts.
  • Backups happen periodically, not in real-time, so don’t expect instant syncing.

What Actually Gets Backed Up

When you enable Backup & sync, Google Messages saves your entire conversation history — every thread, every attachment, every emoji-filled exchange. That includes both SMS and RCS messages, which is a huge relief if you’ve been using Google’s modern messaging standard for group chats or high-quality media sharing.

It’s worth understanding the difference between this and other backup methods. If you’ve previously relied on Android phone backup settings or third-party apps, those might capture different data or use different storage locations. The Messages-specific backup is the most reliable route for your texts specifically.

One caveat: the backup is tied to your Google account, so you’ll need to sign in with the same account on your next phone. Use a different account, and you’re back to square one.

Restoring your messages after a reset

When you set up a new Android phone or factory reset your current one, Google will prompt you to restore from a backup during the initial setup wizard. If you see that option, take it. Your Messages data will come back along with your apps and settings.

Missed the prompt? You can still recover things manually. Open Google Messages, go to Settings > Chat features, and look for the restore option. It’s not always obvious, but it’s there.

If you’re switching from an iPhone, the process is a bit different. You’ll want to use the Move to iOS alternative or a dedicated transfer tool to get your SMS history over. Google Messages backup won’t help you cross platforms.

Don’t wait until it’s too late

Losing years of text messages feels like losing a diary. Birthday wishes, addresses, those late-night conversations you’d never think to screenshot — all of it can vanish in a single factory reset.

So take the two minutes now. Open Google Messages, find that Chat features toggle, and turn on Backup & sync. Future you — the one holding a brand-new phone with all your conversations intact — will be grateful.

And if you’re wondering about other ways to protect your data, check out our guide on securing your Android phone for more tips on keeping your digital life safe.

Continue Reading

How To

I Couldn’t Afford Mesh Wi-Fi, So I Built One From Spare Parts

Published

on

DIY mesh Wi-Fi

Why I Ditched Expensive Mesh Kits

Mesh Wi-Fi systems promise dead-simple coverage. Plunk down $300, plug in three nodes, and suddenly your whole house hums. Except my wallet said otherwise. So I took a different route — one that involved dust, old hardware, and a little stubbornness.

Here’s the thing: you probably already own half the gear needed for a mesh network. That old router in a drawer? It’s not junk. It’s a node waiting for a job.

What You Actually Need for a DIY Mesh

Building your own mesh Wi-Fi isn’t rocket science. It’s more like assembling a puzzle with parts you’ve collected over the years. Here’s what I used:

  • Two old dual-band routers (any brand works)
  • Ethernet cables — at least one long enough to reach between floors
  • A powerline adapter pair (if running cable isn’t an option)
  • About an hour of setup time

The key is finding routers that support wireless mesh networking protocols. Many do, even budget ones from a few years back. Check your router’s settings for “mesh mode” or “AP mode.”

Step-by-Step: Turning Spare Routers Into a Mesh

My setup uses one main router connected to the modem, and a second router acting as a satellite node. The trick is configuring them to share the same SSID and password, so your devices roam seamlessly.

Configure the Main Router

Start with your primary router. Log into its admin panel and enable mesh mode if available. Set the Wi-Fi name and password — you’ll reuse these exact settings on the satellite.

Set Up the Satellite Node

Plug in the second router, connect it via Ethernet to the main one (or a powerline adapter), and access its settings. Disable DHCP, assign a static IP in the same subnet, and set the same SSID and password. Enable “wireless bridging” or “repeater mode” depending on your firmware.

This creates a single network with two access points. Your phone won’t know the difference — it’ll just see one strong signal.

Testing the DIY Mesh Performance

After setup, I ran speed tests in every room. The results surprised me. In the backyard, where the old single router gave 5 Mbps, my DIY mesh delivered 40 Mbps. That’s not flagship territory, but for streaming and browsing, it’s plenty.

Latency stayed under 20ms during video calls. Gaming? A bit of jitter on the far node, but playable. For everyday use, this setup punches way above its weight.

When DIY Mesh Makes Sense (and When It Doesn’t)

This approach shines if you’re on a tight budget or enjoy tinkering. It’s also a great way to repurpose hardware that would otherwise end up in a landfill.

But there are limits. If your house has thick concrete walls or you need Wi-Fi 6 speeds, a commercial mesh kit might be worth the splurge. My DIY setup handles two streams and a handful of smart home devices without breaking a sweat. More than that? You’ll feel the strain.

Final Thoughts: The Joy of Building Your Own Network

There’s something satisfying about solving a connectivity problem with gear you already own. No new purchases, no subscription fees — just a little configuration and a lot of saved cash.

If you’re handy with a router’s admin panel, give it a shot. Worst case, you’re back to square one with a drawer full of old tech. Best case? You’ve got a mesh Wi-Fi system that cost you nothing but time.

And honestly, that feels better than unboxing a shiny new kit. Every time the signal holds in the garage, I grin a little.

Continue Reading

Trending