Connect with us

How To

I Couldn’t Afford Mesh Wi-Fi, So I Built One From Spare Parts

Published

on

DIY mesh Wi-Fi

Why I Ditched Expensive Mesh Kits

Mesh Wi-Fi systems promise dead-simple coverage. Plunk down $300, plug in three nodes, and suddenly your whole house hums. Except my wallet said otherwise. So I took a different route — one that involved dust, old hardware, and a little stubbornness.

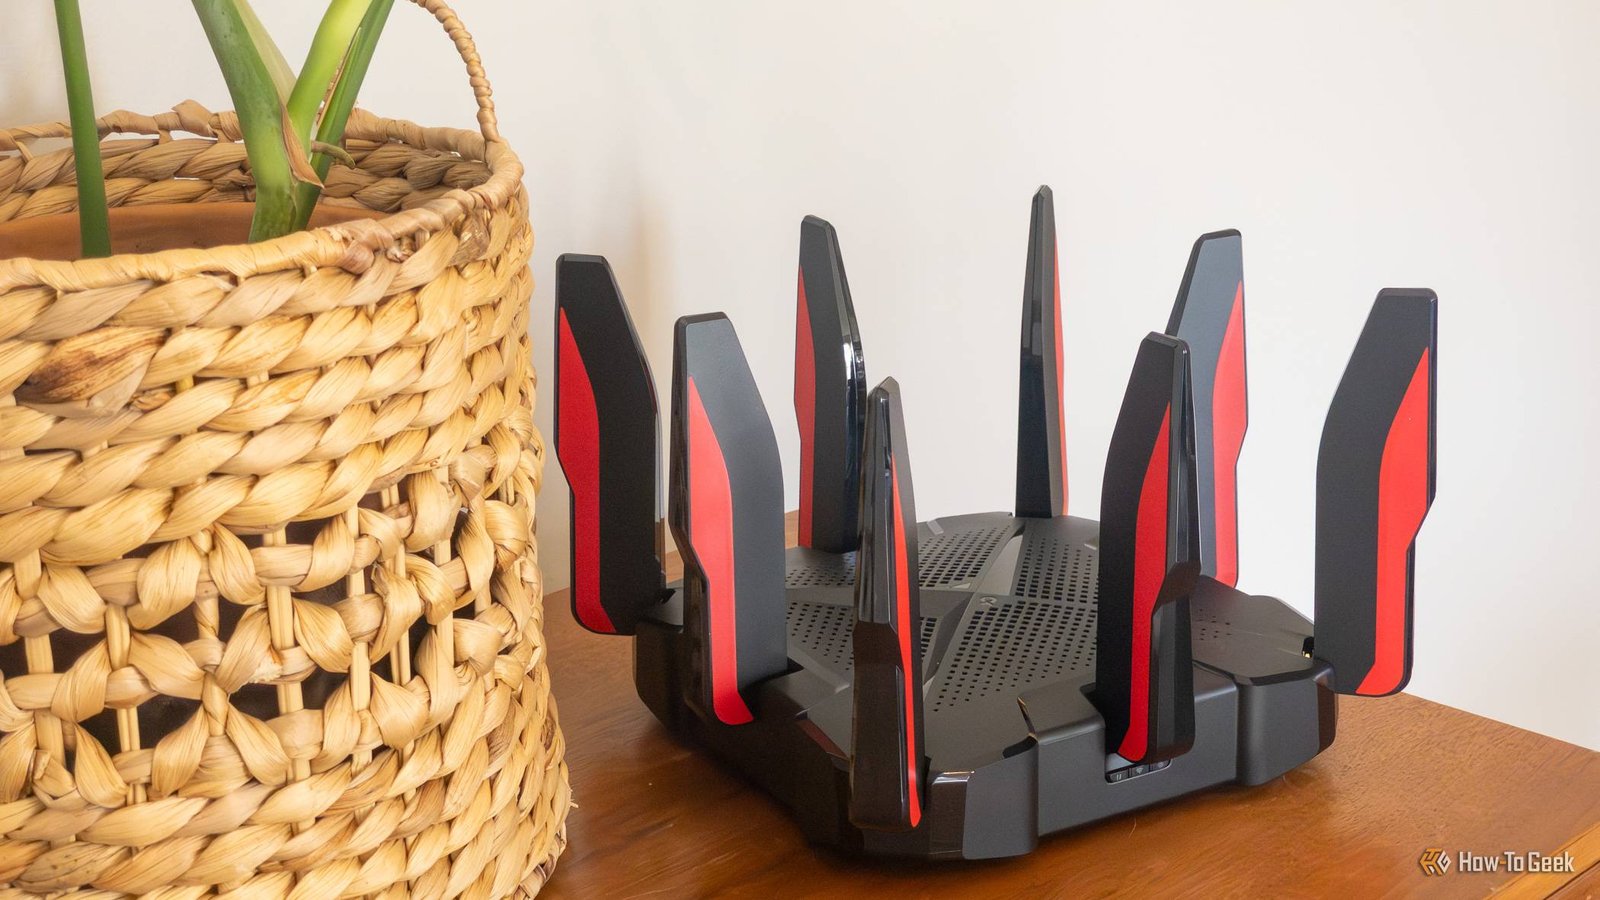
Here’s the thing: you probably already own half the gear needed for a mesh network. That old router in a drawer? It’s not junk. It’s a node waiting for a job.

What You Actually Need for a DIY Mesh

Building your own mesh Wi-Fi isn’t rocket science. It’s more like assembling a puzzle with parts you’ve collected over the years. Here’s what I used:

  • Two old dual-band routers (any brand works)
  • Ethernet cables — at least one long enough to reach between floors
  • A powerline adapter pair (if running cable isn’t an option)
  • About an hour of setup time

The key is finding routers that support wireless mesh networking protocols. Many do, even budget ones from a few years back. Check your router’s settings for “mesh mode” or “AP mode.”

Step-by-Step: Turning Spare Routers Into a Mesh

My setup uses one main router connected to the modem, and a second router acting as a satellite node. The trick is configuring them to share the same SSID and password, so your devices roam seamlessly.

Configure the Main Router

Start with your primary router. Log into its admin panel and enable mesh mode if available. Set the Wi-Fi name and password — you’ll reuse these exact settings on the satellite.

Set Up the Satellite Node

Plug in the second router, connect it via Ethernet to the main one (or a powerline adapter), and access its settings. Disable DHCP, assign a static IP in the same subnet, and set the same SSID and password. Enable “wireless bridging” or “repeater mode” depending on your firmware.

This creates a single network with two access points. Your phone won’t know the difference — it’ll just see one strong signal.

Testing the DIY Mesh Performance

After setup, I ran speed tests in every room. The results surprised me. In the backyard, where the old single router gave 5 Mbps, my DIY mesh delivered 40 Mbps. That’s not flagship territory, but for streaming and browsing, it’s plenty.

Latency stayed under 20ms during video calls. Gaming? A bit of jitter on the far node, but playable. For everyday use, this setup punches way above its weight.

When DIY Mesh Makes Sense (and When It Doesn’t)

This approach shines if you’re on a tight budget or enjoy tinkering. It’s also a great way to repurpose hardware that would otherwise end up in a landfill.

But there are limits. If your house has thick concrete walls or you need Wi-Fi 6 speeds, a commercial mesh kit might be worth the splurge. My DIY setup handles two streams and a handful of smart home devices without breaking a sweat. More than that? You’ll feel the strain.

Final Thoughts: The Joy of Building Your Own Network

There’s something satisfying about solving a connectivity problem with gear you already own. No new purchases, no subscription fees — just a little configuration and a lot of saved cash.

If you’re handy with a router’s admin panel, give it a shot. Worst case, you’re back to square one with a drawer full of old tech. Best case? You’ve got a mesh Wi-Fi system that cost you nothing but time.

And honestly, that feels better than unboxing a shiny new kit. Every time the signal holds in the garage, I grin a little.

Continue Reading
Click to comment

Leave a Reply

Your email address will not be published. Required fields are marked *

Social Media

Vietnam’s Muted Social Media Plan for Kids Joins a Global Crackdown

Published

on

social media ban for kids

A Different Kind of Ban: Vietnam’s ‘Muted’ Approach

Vietnam is floating a novel idea in the global push to protect kids online. Instead of kicking under-16s off social media entirely, the government wants them to stay — but with their voices turned off.

A draft decree from the Ministry of Culture, Sports and Tourism, reported by Reuters, would let minors keep their accounts while losing the ability to post, comment, or react. Accounts would have to be registered under a parent, who’d monitor content and screen time. Platforms would need technical tools to identify child users and steer them toward age-appropriate material.

Deputy Culture Minister Phan Tam insists the goal isn’t a ban, but a safer environment. The decree isn’t final and could change. Vietnam is also mulling gaming limits — under-16s capped at 60 minutes per game daily, with the same parental registration requirement.

The Global Shift Toward Restricting Youth Access

Vietnam’s muted approach is creative, but it’s far from alone. Over the past year, a wave of countries has announced plans to restrict social media for children and teens. Australia led the charge in December 2025, and others are following.

These measures target familiar dangers: cyberbullying, addiction, mental health struggles, and predator exposure. Yet critics, including Amnesty Tech, argue bans are ineffective and ignore how young people actually live online. Privacy concerns about age verification also loom large. Still, many governments are pressing forward.

Country-by-Country: Who’s Banning Social Media for Kids?

Australia: The Pioneer

In December 2025, Australia became the first nation to ban social media for under-16s. The law blocks access to Facebook, Instagram, Snapchat, Threads, TikTok, X, YouTube, Reddit, Twitch, and Kick. WhatsApp and YouTube Kids are exempt. Companies face fines up to $49.5 million AUD ($34.4 million USD) for non-compliance. The government insists platforms use multiple verification methods — not just self-reported ages.

Europe’s Mixed Front

Austria announced in late March it will ban social media for kids up to 14, with draft legislation expected by June. France passed a law on July 21 banning access for under-15s, effective as soon as September 1, plus a high school cell phone ban. Germany’s conservatives floated a proposal in February to bar under-16s, though coalition partners seem hesitant. Greece’s PM Kyriakos Mitsotakis announced an under-15 ban starting January 2027, targeting anxiety, sleep issues, and addictive design. Poland’s ruling party is drafting a similar under-15 ban. Slovenia is working on legislation for under-15s, citing TikTok, Snapchat, and Instagram. Spain’s PM proposed an under-16 ban in February, pending parliament. The UK’s Keir Starmer announced on June 15 a ban for under-16s, covering Snapchat, TikTok, YouTube, Instagram, Facebook, and X — but not WhatsApp or Signal. It could be in place by spring 2027. Denmark is set to ban under-15s, with law possible by mid-2026, and is developing a “digital evidence” app with age verification.

Asia and Beyond

Indonesia said in early March it’s banning under-16s from platforms like YouTube, TikTok, Facebook, Instagram, Threads, X, Bigo Live, and Roblox. Malaysia plans a similar ban this year. Turkey’s parliament passed a bill in April restricting under-15 access, awaiting presidential approval.

What’s Driving the Crackdown?

Governments cite rising mental health issues, sleep deprivation, and the manipulative design of social apps. The bans aim to create breathing room for childhood development. But enforcement is tricky. Age verification raises privacy red flags, and tech companies resist. Critics also note that bans push kids to hidden corners of the internet.

Still, the momentum is undeniable. Social media age limits are becoming a mainstream policy tool, and parental control apps are likely to see a boom. Whether Vietnam’s muted middle ground works — or gets scrapped — remains to be seen.

This story was originally published in February 2026 and is updated regularly.

Continue Reading

How To

I Added 512GB to My Android Phone with a USB-C Gadget Smaller Than My Thumbnail

Published

on

USB-C storage gadget

The Storage Squeeze Is Real

Let’s be honest: phone storage is a scam. Not literally, but close. You buy a phone with 128GB on the spec sheet, and by the time you boot it up, you’re already down to 110GB or less. Android and its system files eat 10 to 20GB before you’ve even taken a single photo.

And the real kicker? If you actually fill that remaining space, your phone starts to choke. Apps take forever to open. The camera stutters. Everything feels like it’s wading through molasses. So you either pay a monthly cloud subscription or you shell out an extra $200 for a higher storage tier on your next phone.

There’s a third option, though. I found it a few weeks ago, and it’s literally smaller than my thumbnail.

Meet the Tiny USB-C Gadget

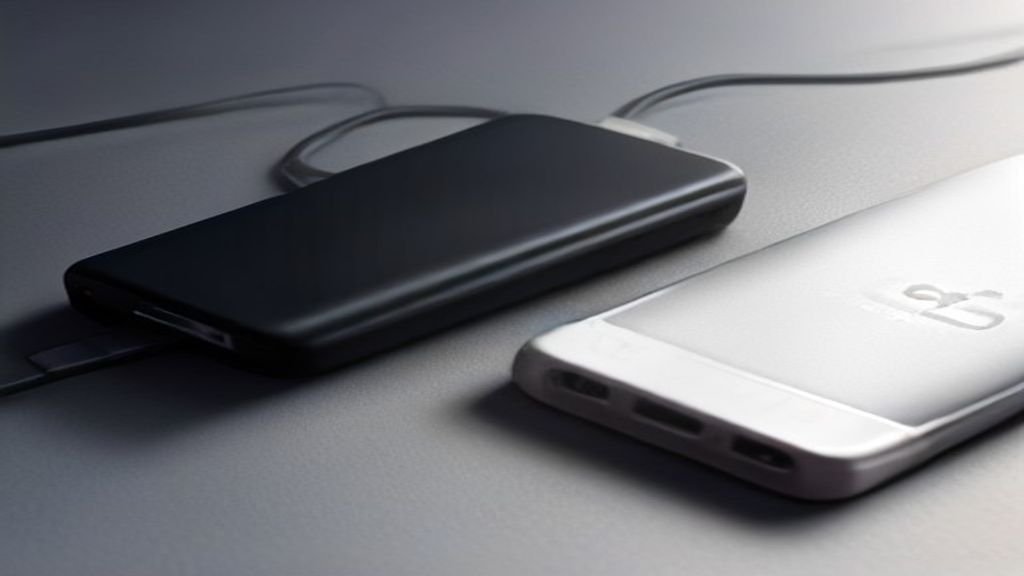
The device in question is a USB-C flash drive. Not the long, clunky sticks you’re used to. This one is a compact little nub that plugs directly into your phone’s USB-C port and sits flush against the bottom edge. It’s so small I almost lost it in my pocket.

But here’s the thing: it holds 512GB. That’s more storage than most flagship phones offer, and it costs a fraction of what you’d pay for a storage upgrade at checkout.

I plugged it in, and my Android phone recognized it instantly. No app required. No driver installation. Just a notification asking me how I wanted to use it.

How It Works: More Than Just a Flash Drive

This isn’t just a dumb storage stick. Modern Android versions treat USB-C drives as full-fledged storage peripherals. You can:

  • Move photos and videos directly to the drive to free up internal space.
  • Play media files straight from the drive using your favorite video player.
  • Back up important documents without touching the cloud.
  • Transfer files between your phone and computer by simply plugging the drive into either device.

Some drives even support a feature called USB Mass Storage (UMS), which lets your phone treat the drive like an external hard drive. That means you can set your camera app to save new photos directly to the drive, bypassing internal storage entirely.

Not every phone supports that last trick, but most modern Android devices with USB 3.0 or higher will handle it fine. My phone did.

Why This Beats Cloud Storage

Cloud storage sounds great until you actually need your files. You’re at a concert, signal is spotty, and you want to show someone a video from last week. Good luck waiting for Google Drive to load.

With a physical drive, the file is always there. No network required. No monthly fee. No privacy concerns about your photos sitting on someone else’s server.

Plus, the cost math is brutal for cloud providers. A 512GB USB-C drive costs around $50 to $80, depending on the brand and speed. Google Drive’s 2TB plan runs you $9.99 a month — that’s $120 a year. After two years, you’ve paid more than double the drive’s cost, and you still don’t own anything.

Speed and Compatibility: What to Look For

Not all USB-C drives are created equal. Here’s what I learned while testing a few:

  • USB 3.1 or 3.2: Look for these specs. They deliver read speeds of 400MB/s or higher, which means transferring a 4K movie takes seconds, not minutes.
  • OTG support: Your phone needs to support USB On-The-Go. Most Android phones have this, but some budget models don’t. Check your phone’s specs before buying.
  • Build quality: The tiny ones are convenient, but they’re easy to lose. Some have a small loop for a keychain. Get one of those.

I tested a SanDisk Ultra Luxe, which is a bit larger than my thumbnail but still tiny. It hit read speeds around 150MB/s on my phone, which is plenty for casual use. If you’re a power user, look at the Samsung BAR Plus — it’s a bit bigger but faster.

The Bottom Line: Should You Buy One?

If you’re constantly fighting with your phone’s storage, this is a no-brainer. It’s cheap, it’s tiny, and it works with almost any Android device. It’s especially useful for people with older phones that can’t expand storage via a microSD card.

I’ve been using mine for two weeks now. I moved all my photos and videos to the drive, and my phone feels like it did when I first unboxed it. No lag, no storage warnings, no cloud subscription anxiety.

Sure, it’s not as elegant as having 1TB built into your phone. But for the price of a dinner out, you can add 512GB of space to any Android phone you own. That’s a trade I’ll take every time.

If you’re curious about other ways to manage phone storage, check out our guide on freeing up space on Android or learn how to transfer photos to a USB drive.

Continue Reading

How To

I tried every major Linux file manager so you don’t have to — here’s the one that stuck

Published

on

Linux file manager

Why I keep switching file managers

I have a problem. I switch Linux apps like some people change socks — constantly, and usually for no good reason. It’s not that the defaults are bad. It’s that I’m always hunting for something that clicks. Something that doesn’t just work, but feels inevitable.

That search recently consumed my file manager. And let me tell you: the rabbit hole is deep. From GNOME Files (Nautilus) to Thunar, PCManFM, Nemo, Krusader — I’ve burned through them all. Most were fine. A few were frustrating. Only one made me stop looking.

Here’s the thing about file managers: they’re the one app you touch a hundred times a day. Get it wrong, and every tiny annoyance compounds. Get it right, and you forget it exists. That’s the goal — a tool so natural you stop noticing it.

What I actually tested

Before I get to the winner, let’s be clear about what I put through the wringer. These aren’t obscure tools. They’re the heavy hitters, the ones you’ll find on any distro’s default install or software center.

  • GNOME Files (Nautilus): The default on GNOME. Clean, minimal, and — for my tastes — too stripped down.
  • Thunar: The Xfce champion. Fast, light, but oddly bare-bones once you need anything beyond copy-paste.
  • PCManFM: The lightweight contender. Great for old hardware, but feels like a skeleton.
  • Nemo: The Cinnamon darling. A Nautilus fork with more features, but still not quite there.
  • Krusader: The power user’s dream. Dual-pane, keyboard-driven, and utterly overwhelming for daily use.

I ran each one on a daily driver for at least a week. Not just clicking around — living in it. Managing files, batch renaming, dealing with network drives, the works.

What went wrong with the usual suspects

GNOME Files: pretty but hollow

Nautilus is gorgeous. It follows GNOME’s design language perfectly, and for a casual user, it’s probably fine. But I need tabs. I need a path bar that doesn’t make me click through folders one by one. Nautilus gives you neither without extensions, and even then, it feels like fighting the design.

Thunar: speed over substance

Thunar is fast. It opens instantly, even on a potato. But that speed comes at a cost. There’s no built-in file compression, no proper split view, and the plugin ecosystem is thin. It’s the file manager equivalent of a sports car with no trunk.

Krusader: too much of a good thing

Krusader is powerful. Two panes, a terminal embed, queue management — it’s a Swiss Army knife with 50 blades. But that power demands a learning curve. I don’t want to study a manual just to move a folder. It’s for sysadmins, not for people who just want to organize photos.

The one that finally felt right

So which one made me delete all the others? Dolphin — the KDE file manager.

I know, I know. It’s the KDE default, and KDE isn’t everyone’s cup of tea. But hear me out. Dolphin nails the balance between power and simplicity. It’s fast, but not bare. Feature-rich, but not bloated. It’s the Goldilocks of file managers.

The first thing that struck me was the interface. It’s customizable without being intimidating. You can toggle the split view with a single shortcut (F3). The path bar can be clicked or typed — no more tedious folder-by-folder navigation. And tabs? They’re built in, not an afterthought.

But the real kicker is the built-in terminal panel. Press F4, and a terminal drops in below your files. That’s a game-changer for anyone who’s ever had to open a separate terminal just to run a command on a file. It’s these small, thoughtful touches that make Dolphin feel like it was designed by someone who actually uses a computer.

Dolphin vs. the rest: a quick comparison

Let’s break it down. If you’re on a low-end machine, Thunar or PCManFM might still be your best bet — they’re lighter. But if you want a file manager that does everything without fighting you, Dolphin wins.

  • Split view: Dolphin has it natively. Nautilus doesn’t. Thunar needs a plugin.
  • Built-in terminal: Dolphin’s F4 panel is a killer feature. Others make you alt-tab.
  • Customization: Dolphin lets you tweak toolbars, shortcuts, and view options. Nautilus feels locked down.
  • Speed: Dolphin is fast, though Thunar edges it out on ancient hardware.

I’m not saying Dolphin is perfect. It’s KDE-adjacent, so if you’re on GNOME, installing it drags in a bunch of Qt dependencies. But if you’re already on KDE — or willing to make the jump — it’s worth it.

Final verdict

After weeks of switching, I’ve settled. Dolphin is my file manager now, and I don’t see that changing soon. It’s not the flashiest, not the lightest, but it’s the one that disappeared into the background — and that’s exactly what I wanted.

If you’re still hunting for your perfect Linux file manager, give Dolphin a shot. And if you’re curious about other Linux productivity tools, I’ve got plenty more recommendations coming. Just don’t blame me if you start customizing your KDE desktop next.

Continue Reading

Trending