Connect with us

How To

Mind Mapping in Design Thinking: A Practical Guide for Creatives

Published

on

Unlocking Creativity with Visual Thinking

Ever stared at a notebook filled with frantic scribbles, trying to make sense of a brainstorm? You’re not alone. Traditional note-taking often creates more confusion than clarity, especially when tackling complex design challenges. That’s where mind mapping comes in—a powerful visual tool that mirrors how our brains naturally work.

Think of it as a structured brainstorm on paper. A mind map starts with a central idea and radiates outward with connected thoughts, creating a web of associations. This isn’t just about drawing pretty diagrams. It’s a practical method for capturing the chaotic energy of creativity and giving it a clear, actionable form.

The Core of Design Thinking

Before diving into mapping, let’s ground ourselves in design thinking. At its heart, this process is a human-centered approach to problem-solving. It’s not just for designers in black turtlenecks. Engineers, product managers, and entrepreneurs use it to create solutions that people actually want and need.

The classic framework moves through five key stages: Empathize, Define, Ideate, Prototype, and Test. Each phase builds upon the last, transforming vague hunches into tangible products. The goal is simple but profound—to understand users deeply and solve their real problems, not just the symptoms.

Where Mind Mapping Fits In

Mind mapping acts as a Swiss Army knife within this process. It’s particularly potent during the early, fuzzy stages. When you’re empathizing with users, a map can capture pain points and observations. During the Define phase, it helps crystallize the core problem statement. And in the Ideate stage, it becomes a launchpad for generating wild, innovative solutions without judgment.

The magic happens in its flexibility. A single map can hold user quotes, technical constraints, feature ideas, and emotional insights—all visually connected. This holistic view prevents teams from getting lost in details too early and keeps the big picture front and center.

Building Your First Design Mind Map

Ready to try it? Start with a blank surface—physical or digital. Write your core challenge or user need in the center. This is your anchor. Now, draw branches radiating out. Label these with major themes: “User Pains,” “Technical Feasibility,” “Business Goals,” “Feature Ideas.”

From each branch, grow smaller twigs. Under “User Pains,” you might add “long wait times,” “confusing interface,” “lack of customization.” Don’t edit yourself yet. The goal is volume and variety. Use colors, icons, or simple sketches to differentiate concepts. A red branch might signal urgent problems; a green one could highlight opportunities.

This isn’t about creating a masterpiece. It’s about externalizing your team’s collective thinking. The messy, interconnected nature of the map often reveals relationships you’d miss in a bulleted list. That unexpected connection between a user frustration and a technical capability? That’s where breakthrough ideas are born.

From Map to Reality: Practical Applications

So you’ve filled a whiteboard with ideas. What now? A well-crafted mind map becomes a living blueprint for your project. It informs feature prioritization, shapes user stories, and guides prototyping decisions. Before a single wireframe is drawn, the team agrees on what they’re building and why.

Consider a team designing a new fitness app. Their mind map might reveal that users care more about social accountability than tracking calories. That insight shifts the entire product direction. Instead of building complex nutrition databases, the team focuses on group challenges and sharing features. The map saved them months of wasted effort.

This tool also democratizes collaboration. When everyone can see how their idea connects to the whole, discussions become more productive. The quiet engineer in the corner might spot a potential integration that the loudest marketer missed. Visual thinking levels the playing field.

Pro Tips for Effective Mapping

Keep it simple early on. A short, focused map often contains more actionable insight than a sprawling masterpiece. Use one map per core objective to avoid cognitive overload. Embrace the mess—collect every idea, even the seemingly useless ones. They often spark the best solutions later.

Indicate hierarchy visually. Thicker branches for major themes, thinner ones for details. This visual cue helps teams quickly distinguish strategic pillars from implementation details. When it’s time to create wireframes, this hierarchy translates directly into information architecture.

Remember, the map is a means, not an end. Its value lies in the conversations it sparks and the clarity it provides. Don’t get bogged down making it beautiful. Focus on making it useful.

Transforming Your Design Practice

Mind mapping won’t solve every design challenge. But it will bring structure to your creativity and alignment to your team. It turns abstract thinking into something you can see, discuss, and refine. In the fast-paced world of product development, that visual anchor is invaluable.

The next time you face a complex problem, grab a marker. Start with a central question and let your thoughts flow outward. You might be surprised by what emerges. That simple act of mapping can reveal patterns, expose assumptions, and illuminate paths forward that linear thinking would miss.

Great design isn’t about having a single brilliant idea. It’s about connecting many ideas in novel ways. A mind map makes those connections visible. It turns the solitary act of thinking into a collaborative journey toward better solutions. And in the end, that’s what design thinking is all about.

Continue Reading
Click to comment

Leave a Reply

Your email address will not be published. Required fields are marked *

How To

Android 17’s Best Privacy Feature Is the One Nobody’s Using Yet

Published

on

temporary location access

What Is Temporary Location Access on Android 17?

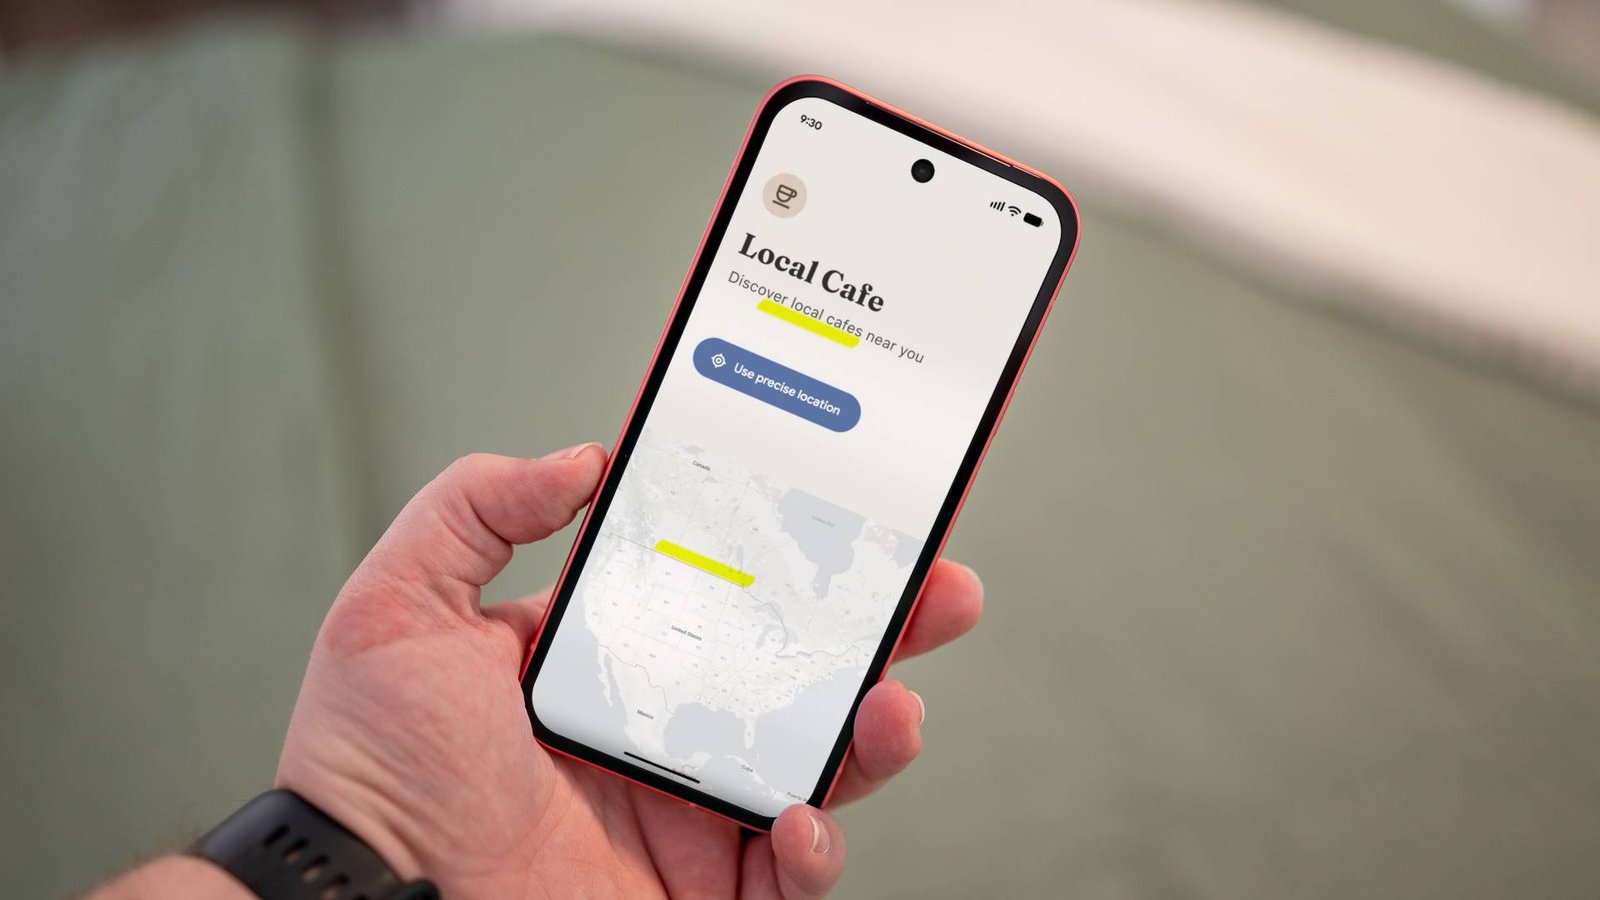
Android 17 introduced a quiet but powerful shift in how apps can request your location. Instead of the old binary choice — “Allow all the time” or “Deny” — you now get a third option: temporary location access. Tap it once, and the app sees your location for that session only. Close the app, and the permission resets.

It sounds simple. It is simple. But most people haven’t touched it yet. According to Google’s own usage data from early 2026, fewer than 12% of eligible Android 17 users have ever granted a temporary location permission. That’s a shame, because this feature solves a real headache.

Why You Should Care About One-Time Location Permissions

Think about the last time you opened a food delivery app just to check an ETA. Or used a weather widget to see if you’d need an umbrella. Or searched for “coffee near me” in a browser. In each case, the app probably asked for your location — and you probably tapped “Allow while using the app.” Fine for that moment. But many apps keep that permission active indefinitely.

Temporary location access cuts that chain. You grant permission for exactly one use. The next time you open the app, it has to ask again. No background tracking. No lingering access. No surprise location history logs.

Where It Helps Most

  • Ride-hailing and food delivery: You want the app to know where you are right now, not where you sleep at night.
  • Navigation: Google Maps needs your location for turn-by-turn directions. It doesn’t need it when you’re just browsing restaurants.
  • Social media: Instagram or TikTok might ask for location to tag a post. Temporary access means they can’t check in on you later.
  • Local search: A quick “gas station near me” search shouldn’t become a permanent permission.

How to Use Temporary Location Access on Android 17

Using it is straightforward. When an app requests location permissions for the first time, look for the new option labeled “Only this time” or “Allow for this session” (the exact wording depends on your device manufacturer’s skin). Tap that instead of “While using the app.”

If you’ve already granted permanent location access to an app, you can switch it. Go to Settings > Apps > [App Name] > Permissions > Location. Change the setting from “Allow all the time” or “Allow only while using the app” to “Ask every time”. That effectively forces temporary access on future launches.

A Quick Note on Compatibility

This feature is baked into Android 17, but not every phone maker exposes it the same way. Samsung devices running One UI 7.0 or later include it. Google’s Pixel line has it natively. Some Xiaomi and Oppo phones hide it under an advanced permissions menu. If you don’t see the option, check your phone’s software version — you may need to update to the latest security patch.

Why Nobody Is Using It Yet

Three reasons. First, habit. Users have been trained for years to tap “Allow” and move on. Changing that reflex takes time. Second, visibility. The temporary option appears only during the initial permission prompt. If you already granted location access before upgrading to Android 17, you’d never see it unless you manually revoke permissions. Third, app behavior. Some apps nag you if you keep denying persistent access. They might show a pop-up saying “This feature works best with location always on” — which pressures users into giving more than they want.

Google could do more here. A one-time notification when an app uses background location after you’ve granted only temporary access would help. Or a monthly privacy summary that highlights apps still holding location permissions. For now, the feature exists, but it’s buried.

How Temporary Access Compares to Other Android Privacy Tools

Android has been stacking privacy features for years. Android 12 added the Privacy Dashboard, which shows which apps accessed your location, camera, and microphone in the last 24 hours. Android 14 introduced photo picker so apps can’t see your entire gallery. Android 16 gave users the ability to share approximate location instead of precise coordinates. Temporary location access is the logical next step — it’s not about hiding your location, but about controlling when and how often it’s shared.

The difference is granularity. Approximate location hides your exact address. Temporary location hides nothing — it just expires. Used together, they’re powerful. Set a maps app to approximate + temporary, and it can guide you to a coffee shop without ever knowing your home address.

What About iOS?

Apple introduced a similar “Allow Once” option in iOS 13 back in 2019. Android is playing catch-up here, but the execution is solid. On iPhone, the permission resets when you leave the app. On Android 17, it resets when you close the app — a subtle difference that gives you slightly more flexibility if you switch between apps quickly.

Should You Change Your Settings Right Now?

Yes. It takes two minutes. Open your location permissions list, find the apps that don’t genuinely need constant access — weather apps, shopping apps, games, social media — and switch them to “Ask every time.” You’ll get a prompt the next time you open each one. Tap “Only this time” and move on.

You’ll lose a tiny bit of convenience. A weather app won’t auto-update your local forecast. A food delivery app might ask for your location again if you reopen it after a few minutes. That’s the trade-off. For most people, it’s worth it.

Android 17’s temporary location access isn’t flashy. It doesn’t add a new visual feature or speed up your phone. What it does is give you back control — one permission prompt at a time. Start using it.

Continue Reading

How To

GPT-Live finally gives ChatGPT the one thing Gemini already had

Published

on

GPT-Live real-time video

ChatGPT catches up — but is it enough?

For months, Google Gemini users could hold a live, real-time video conversation with their AI assistant. You’d point your phone at a plant, ask what’s wrong with it, and Gemini would see the leaves, hear your voice, and talk back instantly. ChatGPT users? They got a text box and a voice mode that felt more like a walkie-talkie than a conversation.

That changes now. OpenAI’s new GPT-Live feature finally brings real-time voice and video to ChatGPT. It’s a major update — and one that levels the playing field between the two leading AI assistants.

But here’s the real question: does catching up matter when Gemini has already spent months refining the experience? Let’s break down what GPT-Live actually does, and whether it’s a genuine leap forward or just a necessary correction.

What is GPT-Live? A quick primer

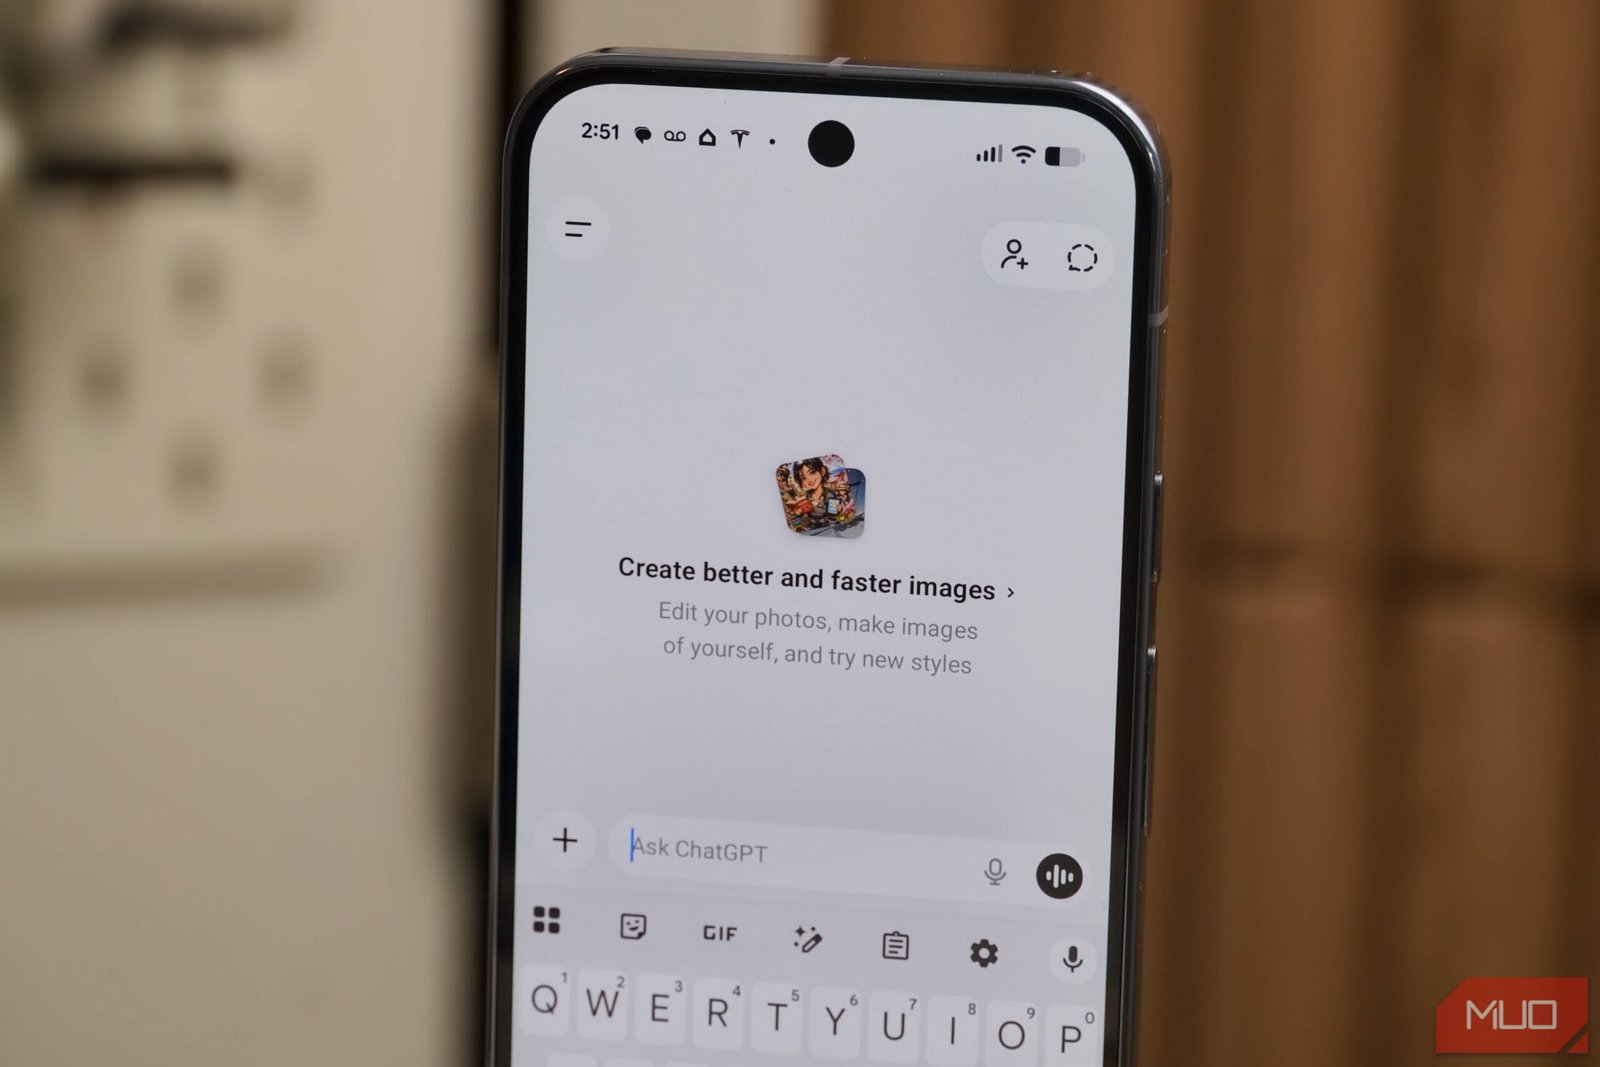
GPT-Live is OpenAI’s answer to Gemini Live — a real-time, multimodal interaction mode for ChatGPT. Instead of typing a query and waiting for a text response, you can now speak naturally, show the AI what you’re looking at through your camera, and get spoken answers back in near real-time.

The feature works across the ChatGPT mobile app on iOS and Android. It uses the same underlying GPT-4o model but optimized for low-latency streaming. You don’t need to press a button to start talking; the system detects when you’ve finished speaking and responds.

Key capabilities include:

  • Real-time voice conversation — natural back-and-forth, with interruptions and follow-ups.
  • Live video analysis — point your camera at an object, scene, or document, and ChatGPT describes or analyzes it on the fly.
  • Screen sharing — on supported devices, you can share your screen and ask questions about what’s displayed.
  • Context memory — the AI remembers what you discussed earlier in the session, allowing multi-turn conversations.

It’s a significant technical achievement. But it’s also something Gemini users have been doing since early 2025.

How GPT-Live compares to Gemini Live

At first glance, the two features are nearly identical. Both let you hold a real-time, multimodal conversation with an AI assistant. Both support voice, video, and screen sharing. Both are designed for hands-free, natural interaction.

But there are differences — and some of them matter more than others.

Latency and responsiveness

In early tests, GPT-Live feels slightly snappier than Gemini Live. OpenAI has optimized the streaming pipeline to minimize delay between when you stop speaking and when the AI begins its response. Gemini, while impressive, occasionally has a half-second pause that breaks the flow. GPT-Live’s responses feel more conversational, closer to talking to a human.

That said, Gemini has had months to refine its real-time capabilities. OpenAI is launching GPT-Live with a solid foundation, but Google’s version has been battle-tested across millions of interactions. Reliability may favor Gemini for now.

Video analysis quality

Both AIs can identify objects, read text, and describe scenes from live video. But they approach the task differently. Gemini tends to give concise, direct answers — “That’s a Monstera deliciosa, and the yellowing leaves suggest overwatering.” GPT-Live is more verbose, often providing additional context or asking clarifying questions.

Which is better depends on your use case. If you want a quick answer, Gemini wins. If you want a tutor-like explanation, GPT-Live might be more helpful.

Integration with other services

This is where Gemini still holds a clear edge. Because it’s built into Google’s ecosystem, Gemini Live can pull data from your Gmail, Google Calendar, Maps, and YouTube in real time. You can ask “What’s my schedule for tomorrow?” and it reads your calendar. You can say “Show me that restaurant we passed yesterday” and it searches your Maps history.

GPT-Live, for now, is largely self-contained. It can access the internet via Bing search, but it doesn’t have deep hooks into your personal data or third-party apps. OpenAI has announced plugin support is coming, but it’s not here yet.

Why this update matters — and what it doesn’t fix

GPT-Live is a big deal for ChatGPT users who have felt left behind. Real-time voice and video aren’t just gimmicks — they fundamentally change how you interact with an AI assistant. Instead of typing and reading, you can have a conversation while cooking, fixing something, or walking down the street.

For OpenAI, this update closes a critical gap. If you’re choosing between ChatGPT and Gemini, the lack of live video was a dealbreaker for many. Now that gap is gone.

But GPT-Live doesn’t solve ChatGPT’s other weaknesses. The free tier still has strict usage limits. The knowledge cutoff remains mid-2024 for most users. And while the model is powerful, it still hallucinates — sometimes confidently — on factual questions.

Gemini, meanwhile, has its own issues: a less polished conversational style, occasional factual errors, and a reputation for being overly cautious in its responses. Neither assistant is perfect.

What’s next for real-time AI assistants

The launch of GPT-Live signals that real-time, multimodal interaction is now table stakes for AI assistants. Both OpenAI and Google are racing to make their AIs more natural, more responsive, and more useful in everyday situations.

Expect the next wave of improvements to focus on:

  • Better context retention — remembering details from previous sessions, not just the current one.
  • Deeper app integration — letting the AI act on your behalf, not just answer questions.
  • Improved accuracy — reducing hallucinations through better grounding and verification.
  • Multilingual support — both assistants already handle multiple languages, but real-time translation is a natural next step.

For now, the choice between ChatGPT and Gemini comes down to ecosystem and personal preference. If you live in Google’s world — Gmail, Calendar, Maps, YouTube — Gemini Live is the more seamless option. If you prefer OpenAI’s model quality and conversational style, GPT-Live makes ChatGPT a much stronger competitor.

Either way, the era of typing to your AI assistant is ending. Talking — and showing — is the new normal.

Continue Reading

How To

Android secretly saves every notification you swipe away, and turning it on saved me twice

Published

on

Android notification history

I didn’t know Android was keeping a secret diary of my notifications

It happened twice. Once, I accidentally swiped away a confirmation code for a bank transfer. The second time, a reminder about a flight check-in vanished before I could read it. Both times, I felt that sinking feeling: the message was gone, and I had no way to get it back.

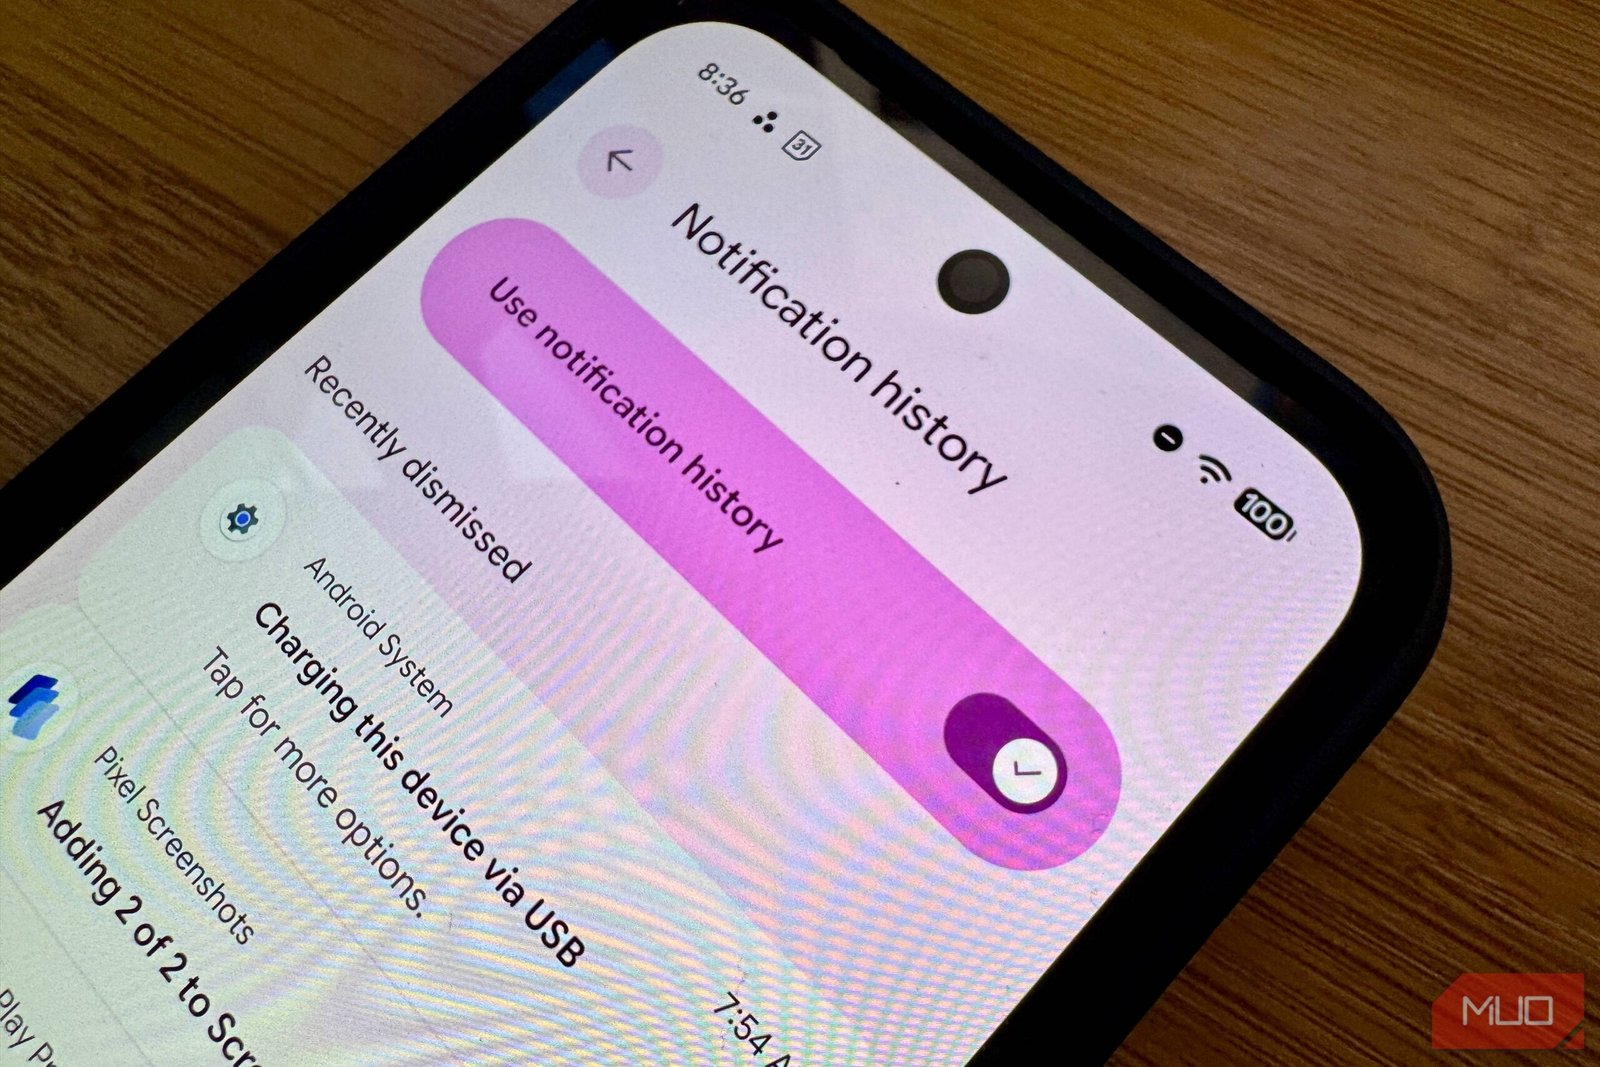
Except I did. Android had been quietly logging every single notification I dismissed — I just had to turn the feature on. The Android notification history is a built-in tool that stores alerts you’ve swiped away, and it’s been a lifesaver twice already.

Here is how to enable it, what it captures, and why you should turn it on right now.

What is Android notification history?

Notification history is a system-level log that records every notification your phone receives — even the ones you swipe away without reading. It is not a third-party app or a hidden trick. It’s a native feature baked into stock Android since version 11, and it’s available on most modern phones from Samsung, Google Pixel, OnePlus, and others.

Once enabled, the log captures the app name, the time the notification arrived, and the full text of the alert. You can scroll back through hours or even days of dismissed notifications. It does not capture media attachments or images, but it saves the text content reliably.

This is not the same as notification snoozing or Do Not Disturb. Those features hide or delay alerts. Notification history is a permanent record of everything that popped up on your screen — until you manually clear the log.

How to enable notification history on Android

Turning it on is straightforward, but the settings path varies slightly by manufacturer. Here is the general method that works on stock Android and most Samsung devices.

On stock Android (Pixel, Motorola, Nokia)

  1. Open Settings and tap Notifications.
  2. Tap Notification history (it may be under Advanced).
  3. Toggle Use notification history to on.

On Samsung One UI

  1. Go to Settings > Notifications > Advanced settings.
  2. Tap Notification history.
  3. Toggle the switch to enable it.

That is it. Once enabled, the phone starts logging immediately. You can access the history from the same menu at any time. The log holds the most recent 500 notifications, and older entries are automatically overwritten.

How notification history saved me — twice

The first save was a bank OTP. I was in a hurry, swiped away a message from my banking app, and immediately realized I had not copied the code. Panic set in. Then I remembered I had enabled notification history the week before. I opened the log, found the alert, and typed in the code. Transaction completed.

The second incident was more stressful. A flight reminder popped up while I was driving. I dismissed it without reading, intending to check later. By the time I remembered, the notification was gone. I opened the history, and there it was: the check-in link, the gate number, and the departure time. I had missed it by ten minutes, but I still made the flight.

Both times, the feature did exactly what it promised. It kept a copy of something I had carelessly thrown away.

What notification history does not capture

There are limits. Android notification history does not store:

  • Notifications from apps that use priority or critical alerts (those are handled separately).
  • Media content like photos or videos attached to a message.
  • Notifications from apps that explicitly opt out of the log (rare, but possible).
  • Notifications cleared by the system during a reboot if the log was not enabled before the restart.

Also, the log is device-specific. It does not sync across your Google account or other Android devices. If you switch phones, the history starts fresh.

Privacy concerns: who can see your notification log?

Notification history is stored locally on your device. It is not uploaded to Google’s servers or shared with app developers. Anyone with physical access to your unlocked phone can open the log and read your dismissed alerts — including messages from apps you might consider private.

If you share your phone or hand it to someone else, consider clearing the log first. You can delete individual entries by swiping them away in the history view, or you can tap Clear all to wipe the entire log. The feature can also be toggled off at any time, which erases the stored history.

For most people, the convenience outweighs the privacy risk. But it is worth knowing that your dismissed notifications are not truly gone — they are just a few taps away.

Should you enable notification history?

Yes. The setup takes thirty seconds. The potential payoff is huge. Whether you accidentally dismiss a two-factor code, a calendar reminder, or a shipping update, having a searchable log of your notifications is like having an undo button for your attention.

I have left it on permanently. It has saved me twice, and I suspect it will save me again. Turn it on now — you will forget you have it until the moment you need it most.

Continue Reading

Trending