ChatGPT catches up — but is it enough?
For months, Google Gemini users could hold a live, real-time video conversation with their AI assistant. You’d point your phone at a plant, ask what’s wrong with it, and Gemini would see the leaves, hear your voice, and talk back instantly. ChatGPT users? They got a text box and a voice mode that felt more like a walkie-talkie than a conversation.
That changes now. OpenAI’s new GPT-Live feature finally brings real-time voice and video to ChatGPT. It’s a major update — and one that levels the playing field between the two leading AI assistants.
But here’s the real question: does catching up matter when Gemini has already spent months refining the experience? Let’s break down what GPT-Live actually does, and whether it’s a genuine leap forward or just a necessary correction.
What is GPT-Live? A quick primer
GPT-Live is OpenAI’s answer to Gemini Live — a real-time, multimodal interaction mode for ChatGPT. Instead of typing a query and waiting for a text response, you can now speak naturally, show the AI what you’re looking at through your camera, and get spoken answers back in near real-time.
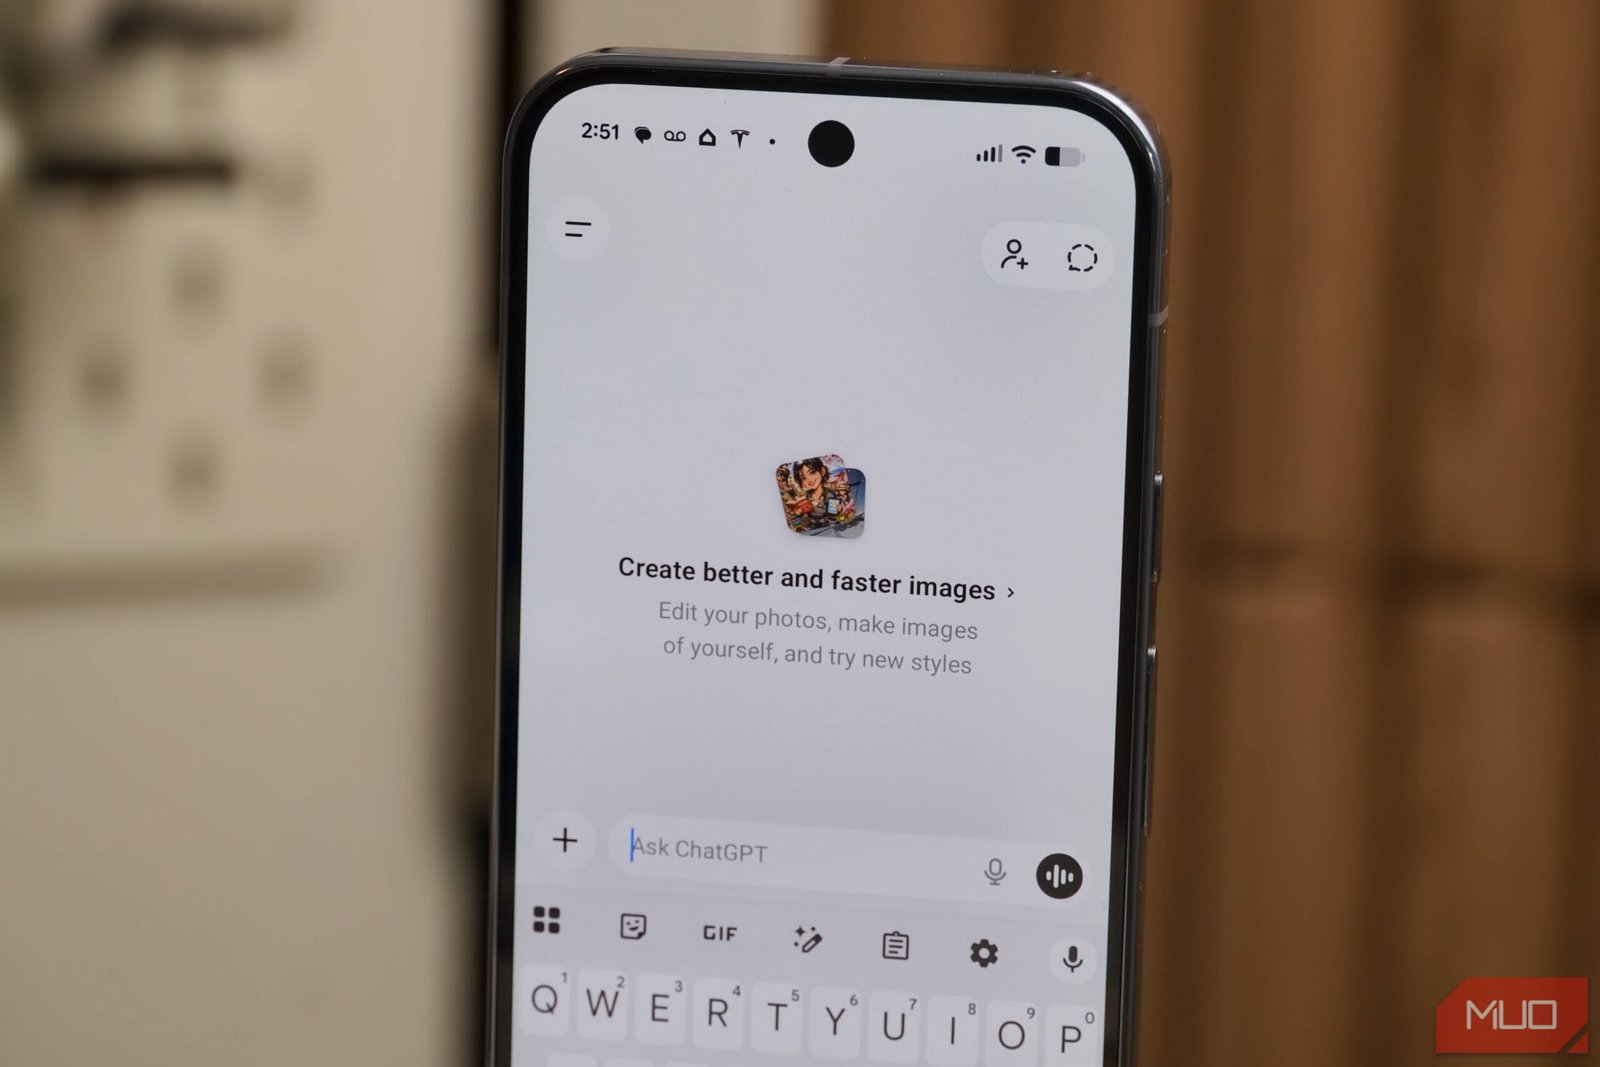
The feature works across the ChatGPT mobile app on iOS and Android. It uses the same underlying GPT-4o model but optimized for low-latency streaming. You don’t need to press a button to start talking; the system detects when you’ve finished speaking and responds.
Key capabilities include:
- Real-time voice conversation — natural back-and-forth, with interruptions and follow-ups.
- Live video analysis — point your camera at an object, scene, or document, and ChatGPT describes or analyzes it on the fly.
- Screen sharing — on supported devices, you can share your screen and ask questions about what’s displayed.
- Context memory — the AI remembers what you discussed earlier in the session, allowing multi-turn conversations.
It’s a significant technical achievement. But it’s also something Gemini users have been doing since early 2025.
How GPT-Live compares to Gemini Live
At first glance, the two features are nearly identical. Both let you hold a real-time, multimodal conversation with an AI assistant. Both support voice, video, and screen sharing. Both are designed for hands-free, natural interaction.
But there are differences — and some of them matter more than others.
Latency and responsiveness
In early tests, GPT-Live feels slightly snappier than Gemini Live. OpenAI has optimized the streaming pipeline to minimize delay between when you stop speaking and when the AI begins its response. Gemini, while impressive, occasionally has a half-second pause that breaks the flow. GPT-Live’s responses feel more conversational, closer to talking to a human.
That said, Gemini has had months to refine its real-time capabilities. OpenAI is launching GPT-Live with a solid foundation, but Google’s version has been battle-tested across millions of interactions. Reliability may favor Gemini for now.
Video analysis quality
Both AIs can identify objects, read text, and describe scenes from live video. But they approach the task differently. Gemini tends to give concise, direct answers — “That’s a Monstera deliciosa, and the yellowing leaves suggest overwatering.” GPT-Live is more verbose, often providing additional context or asking clarifying questions.
Which is better depends on your use case. If you want a quick answer, Gemini wins. If you want a tutor-like explanation, GPT-Live might be more helpful.
Integration with other services
This is where Gemini still holds a clear edge. Because it’s built into Google’s ecosystem, Gemini Live can pull data from your Gmail, Google Calendar, Maps, and YouTube in real time. You can ask “What’s my schedule for tomorrow?” and it reads your calendar. You can say “Show me that restaurant we passed yesterday” and it searches your Maps history.
GPT-Live, for now, is largely self-contained. It can access the internet via Bing search, but it doesn’t have deep hooks into your personal data or third-party apps. OpenAI has announced plugin support is coming, but it’s not here yet.
Why this update matters — and what it doesn’t fix
GPT-Live is a big deal for ChatGPT users who have felt left behind. Real-time voice and video aren’t just gimmicks — they fundamentally change how you interact with an AI assistant. Instead of typing and reading, you can have a conversation while cooking, fixing something, or walking down the street.
For OpenAI, this update closes a critical gap. If you’re choosing between ChatGPT and Gemini, the lack of live video was a dealbreaker for many. Now that gap is gone.
But GPT-Live doesn’t solve ChatGPT’s other weaknesses. The free tier still has strict usage limits. The knowledge cutoff remains mid-2024 for most users. And while the model is powerful, it still hallucinates — sometimes confidently — on factual questions.
Gemini, meanwhile, has its own issues: a less polished conversational style, occasional factual errors, and a reputation for being overly cautious in its responses. Neither assistant is perfect.
What’s next for real-time AI assistants
The launch of GPT-Live signals that real-time, multimodal interaction is now table stakes for AI assistants. Both OpenAI and Google are racing to make their AIs more natural, more responsive, and more useful in everyday situations.
Expect the next wave of improvements to focus on:
- Better context retention — remembering details from previous sessions, not just the current one.
- Deeper app integration — letting the AI act on your behalf, not just answer questions.
- Improved accuracy — reducing hallucinations through better grounding and verification.
- Multilingual support — both assistants already handle multiple languages, but real-time translation is a natural next step.
For now, the choice between ChatGPT and Gemini comes down to ecosystem and personal preference. If you live in Google’s world — Gmail, Calendar, Maps, YouTube — Gemini Live is the more seamless option. If you prefer OpenAI’s model quality and conversational style, GPT-Live makes ChatGPT a much stronger competitor.
Either way, the era of typing to your AI assistant is ending. Talking — and showing — is the new normal.


 CyberSecurity4 months ago
 CyberSecurity4 months ago
 Social Media4 months ago
 CyberSecurity4 months ago
 How To3 months ago
 Infosecurity4 months ago
 CyberSecurity4 months ago
 CyberSecurity4 months ago