Connect with us

Video

Samsung Galaxy Z Fold 8 After 48 Hours: The Truth Unveiled

Published

on

After just 48 hours with the Samsung Galaxy Z Fold 8, one thing is clear: this is a foldable that Samsung got right in many ways, but not without a few frustrating compromises. From a stunning 3,000-nit display to a multitasking powerhouse, the Z Fold 8 impresses. Yet, the camera selection and fingerprint sensor leave room for improvement. Here’s the honest truth from someone who’s been living with it.

Why the Samsung Galaxy Z Fold 8 Shines: 6 Pros You’ll Love

The Samsung Galaxy Z Fold 8 brings several standout features that make it a compelling choice for power users. First, the screen brightness is a game-changer. At 3,000 nits, it’s incredibly visible even under direct sunlight, and the anti-glare coating enhances the experience. Building on this, the three-way multitasking is seamless—you can run three apps simultaneously without lag, perfect for productivity on the go.

In addition, the design eliminates the speaker block issue in landscape mode, so your hands don’t accidentally cover the speakers while watching videos. The passport form factor makes it compact and pocket-friendly, while the pre-order deals, including up to $1,200 in trade-ins, add value. Finally, the 45W charging and battery upgrade ensure you stay powered through the day.

Where the Samsung Galaxy Z Fold 8 Falls Short: 4 Cons to Consider

However, the Samsung Galaxy Z Fold 8 isn’t perfect. One major pain point is the fingerprint sensor, which can be finicky and slow to recognize your finger. Another drawback is the camera selection—while good, it doesn’t match the best in class, especially in low light. As a result, the landscape camera UI feels clunky, making quick shots awkward. Additionally, the lack of S Pen support is a missed opportunity for note-takers and artists.

Is the Samsung Galaxy Z Fold 8 Worth It? Final Verdict

Despite its flaws, the Samsung Galaxy Z Fold 8 offers a unique blend of innovation and practicality. The pros outweigh the cons for those who value a large, bright display and multitasking capabilities. Nevertheless, if camera quality and biometric reliability are your top priorities, you might want to weigh your options. To see these features in action and get a deeper dive, watch the full video review.

Watch the Full Samsung Galaxy Z Fold 8 Review

For an in-depth look at the Samsung Galaxy Z Fold 8, including real-world tests and comparisons, check out the video above. It covers everything from the display to the battery, giving you the truth after 48 hours of use.

Continue Reading
Click to comment

Leave a Reply

Your email address will not be published. Required fields are marked *

Video

How to Restore Outlook Auto Complete Contacts: A Step-by-Step Guide

Published

on

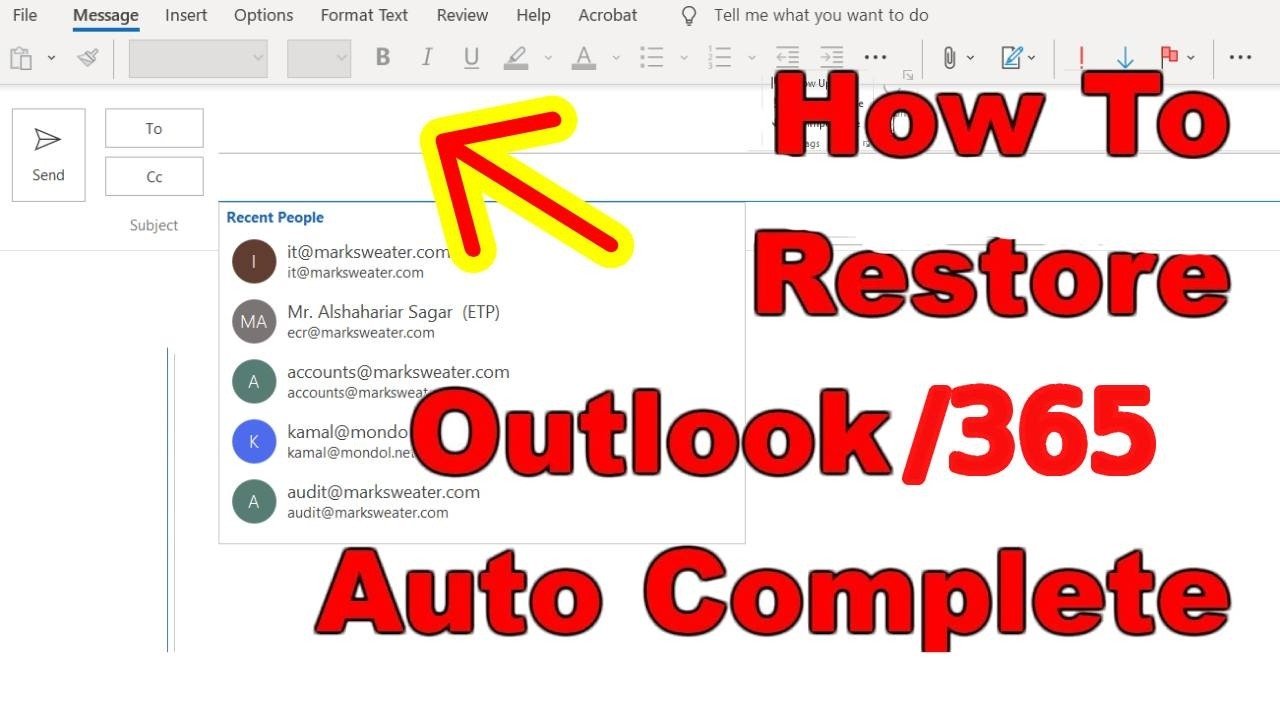
restore Outlook auto complete contacts

If you rely on Microsoft Outlook for your daily email correspondence, you know how frustrating it is when the autocomplete feature suddenly stops working. Those saved email addresses that used to pop up as you typed—gone in an instant. But don’t worry; restoring them is simpler than you might think. In this guide, we’ll walk you through how to restore Outlook auto complete contacts, so you can get back to efficient emailing without missing a beat.

Why Outlook Auto Complete Contacts Matter

Outlook’s autocomplete feature is a time-saver. It remembers the email addresses you’ve previously typed and suggests them as you start typing in the To, Cc, or Bcc fields. For professionals who send dozens of emails daily, this feature is indispensable. When it fails, you might find yourself manually searching for contacts or retyping addresses—a tedious and error-prone process. Fortunately, the fix involves a simple file replacement technique that works for Outlook 2013 and newer versions.

Understanding the Problem: Why Autocomplete Stops Working

Before diving into the solution, it helps to understand why Outlook autocomplete contacts might disappear. Common causes include:

– Corrupted or missing autocomplete files (previously .nk2 files, now stored in a Stream_Autocomplete folder)
– Upgrading Outlook or Windows, which can reset settings
– Accidental deletion or cache clearing
– Conflicts with add-ins or updates

Regardless of the cause, the restoration process is straightforward. You’ll need to locate the autocomplete data file and replace it with a backup or a fresh copy from a working Outlook profile.

Step-by-Step: How to Restore Outlook Auto Complete Contacts

Step 1: Locate the Autocomplete File

First, you need to find where Outlook stores your autocomplete data. In Outlook 2013 and later, the file is no longer a .nk2 file. Instead, it’s a file named `Stream_Autocomplete` located in your Outlook profile folder. The typical path is:

`C:Users[YourUsername]AppDataLocalMicrosoftOutlook`

Note: The AppData folder is hidden by default. To view it, enable hidden files in File Explorer.

Step 2: Create a Backup

Before making any changes, it’s wise to back up the current file (if it exists). Copy the `Stream_Autocomplete` file to a safe location, such as your desktop. This ensures you can revert if something goes wrong.

Step 3: Replace the Autocomplete File

Now, you’ll need to replace the current autocomplete file with a working one. If you have a backup from a previous Outlook profile, simply copy that file and paste it into the Outlook folder. If you don’t have a backup, you can create a new autocomplete file by temporarily enabling a different Outlook profile, sending a few test emails, and then copying the generated `Stream_Autocomplete` file.

To replace the file:
1. Right-click on the new (or backup) `Stream_Autocomplete` file and select “Copy.”
2. Navigate to the Outlook folder (as shown above).
3. Right-click on the existing `Stream_Autocomplete` file (if present) and rename it to something like `Stream_Autocomplete_old` for safekeeping.
4. Paste the new file into the folder.

Step 4: Restart Outlook

Close and reopen Outlook. The autocomplete feature should now work, showing your restored contacts. Test it by typing a few familiar email addresses in the To field.

Additional Tips for Preventing Future Issues

– **Regular Backups**: Periodically copy your `Stream_Autocomplete` file to a backup location. This makes restoration quick if the feature fails again.
– **Update Outlook**: Keep your Outlook installation up to date. Microsoft often releases patches that fix bugs, including autocomplete issues.
– **Avoid Clearing Autocomplete Cache**: In Outlook’s options, there’s a setting to clear autocomplete entries. Use it sparingly, as it will delete all saved addresses.

Conclusion: Get Back to Efficient Emailing

Restoring Outlook auto complete contacts doesn’t require advanced tech skills. By following the steps above, you can recover those vital email addresses and save time every day. If you encounter any hiccups, the video accompanying this guide provides a visual walkthrough that can clarify each step. So, don’t let a missing autocomplete list slow you down—take action and restore your Outlook productivity today.

Continue Reading

Video

The Perfect Raspberry Pi Wall Dashboard? Hands-On with the New Touch Display 2

Published

on

Raspberry Pi wall dashboard

There is something deeply satisfying about turning a single-board computer into a dedicated wall-mounted control panel. For years, Raspberry Pi enthusiasts have dreamed of a sleek, affordable touchscreen that can run Home Assistant, display homelab metrics, or serve as a smart home hub. The newly released Raspberry Pi Touch Display 2 promises to make that dream a reality. But does it deliver the perfect Raspberry Pi wall dashboard?

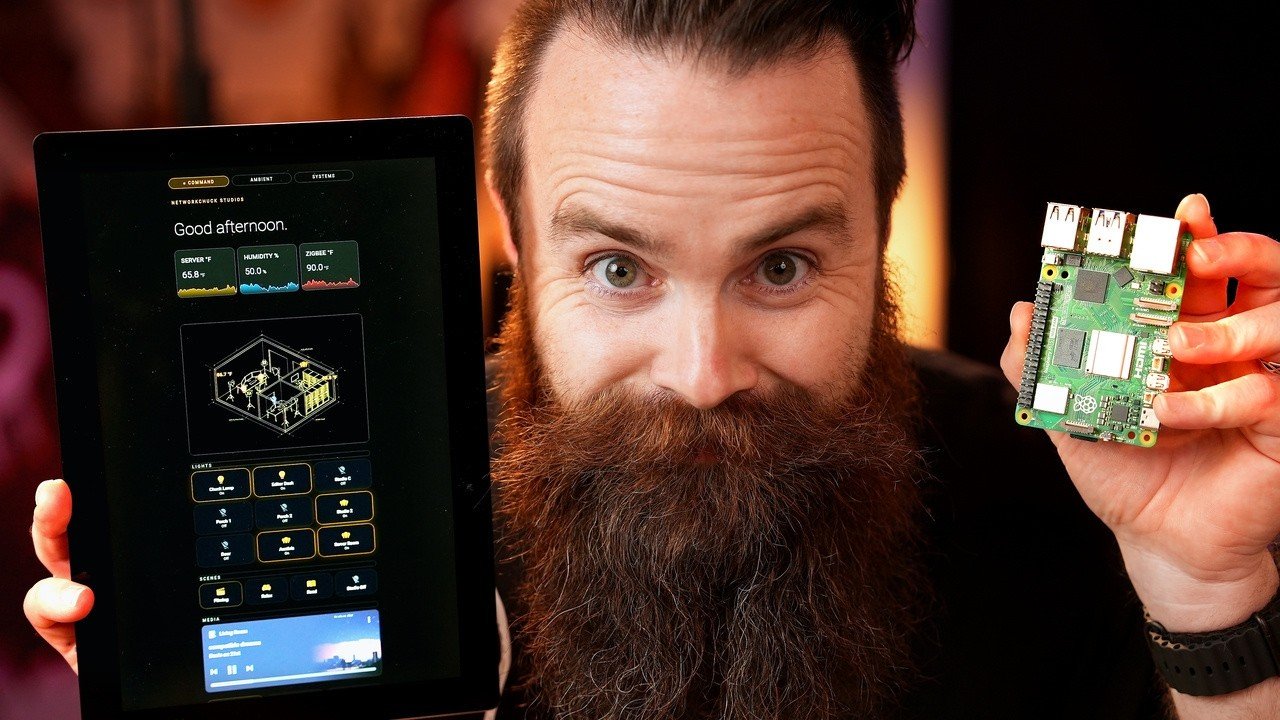
In a recent hands‑on video, NetworkChuck unboxes the 10‑inch portrait version of this display, walks through the setup process, and ultimately builds a polished Home Assistant kiosk. The verdict? This display is gorgeous, reasonably priced at $80, and surprisingly easy to mount. However, there is one major catch that might disappoint owners of older Raspberry Pi models.

What Makes the Touch Display 2 Stand Out?

The first thing you notice about the Touch Display 2 is its build quality. It features a 1200×1920 IPS panel with 400 nits of brightness and true 10‑finger multitouch. Compared to the original Raspberry Pi touchscreen, this is a massive upgrade. The colors are vibrant, the viewing angles are wide, and the screen is responsive. For a $80 display, it punches well above its weight.

But the real question is whether this display can serve as the foundation for a reliable Raspberry Pi wall dashboard. The answer is yes — provided you are using the right hardware. The Touch Display 2 only works with the Raspberry Pi 5 and the Compute Module 5. If you are still running a Pi 3 or Pi 4, you are out of luck. This is a deliberate design choice: the new display uses a higher bandwidth interface that older models cannot support.

The Setup Hurdle: Firmware Update Required

Building on the excitement of unboxing, many users will hit a wall when they first power on the display. As NetworkChuck discovered, the screen lights up but shows nothing. The culprit? An outdated EEPROM firmware on the Raspberry Pi 5. The fix is straightforward: you need to update the bootloader and firmware via `rpi-eeprom-update`. Once that is done, the display springs to life.

This step is not mentioned in the quick‑start guide, so it is easy to miss. However, once you know about it, the process takes only a few minutes. In addition, you may need to enable the DSI interface in `config.txt`. After that, the Touch Display 2 works flawlessly.

Building the Ultimate Home Assistant Wall Dashboard

Once the display is working, the next step is turning it into a functional dashboard. The video showcases TouchKio, an open‑source kiosk application that runs on Raspberry Pi OS Lite. It boots directly into a full‑screen browser, which can be pointed at your Home Assistant instance. The result is a dedicated wall panel that looks clean and professional.

TouchKio is lightweight and configurable. You can hide the cursor, disable screen blanking, and even set a custom URL for automatic login. For a Raspberry Pi wall dashboard, this is a killer combination. The display’s 10‑finger touch support means you can interact with Home Assistant cards, toggle lights, and check sensors without any lag.

Mounting and Practical Considerations

Mounting the Touch Display 2 on a wall is surprisingly simple. The display comes with VESA mounting holes, so you can attach it directly to a standard wall plate. NetworkChuck used a drill and a few screws to secure it to his studio wall. The result is a flush, clean installation that looks like a commercial smart home panel.

However, there are a few things to keep in mind. The display requires a separate power supply (5V/3A recommended) and a ribbon cable connection to the Raspberry Pi 5. If you are mounting the Pi behind the display, you will need to manage cable routing carefully. Also, the display does not include a case, so you may want to 3D‑print or buy a bezel to protect the edges.

Is This the Perfect Raspberry Pi Wall Dashboard?

For anyone building a smart home or homelab setup, the Raspberry Pi Touch Display 2 is an excellent choice. It offers high‑resolution visuals, responsive touch, and an affordable price. Combined with TouchKio and Home Assistant, it creates a dedicated wall dashboard that rivals commercial solutions costing hundreds of dollars.

The only downside is the hardware requirement. If you already own a Raspberry Pi 5, this is a no‑brainer. If you are still on a Pi 4, you may need to upgrade. But given the performance boost of the Pi 5, that upgrade is worthwhile anyway.

To see the full unboxing, firmware fix, and dashboard setup in action, watch the video above. It is the best way to decide if this display is right for your next project.

Continue Reading

Video

Top 10 High Paying Online Jobs With The Most Demand Right Now

Published

on

high paying online jobs

The remote work revolution is far from over. While some fret about AI stealing roles, the truth is that the digital economy is creating new high paying online jobs faster than ever. A recent deep dive by career expert Shane Hummus reveals exactly which roles are booming right now — and many of them don’t require a traditional degree.

In his latest video, Hummus breaks down the top 10 high paying online jobs that employers are desperately trying to fill. But this isn’t just another listicle. He unpacks why certain careers are surging, how to break into them from scratch, and which roles are actually becoming more valuable thanks to AI.

Why These High Paying Online Jobs Are Exploding

Building on the idea that every dying job creates several new ones, Hummus argues that automation isn’t shrinking the job market — it’s reshaping it. As routine tasks get automated, companies need humans to manage systems, interpret data, and connect dots. This shift is fueling demand for roles that didn’t even exist three years ago.

For example, he highlights the “translator” role every data-rich company is missing. This isn’t about languages — it’s about bridging the gap between raw data and business decisions. Similarly, the “digital bouncer” job (cybersecurity) is hiding in plain sight, protecting companies from threats that multiply daily.

The Blueprint for Launching a Remote Career

One of the most valuable parts of the video is the exact blueprint for launching these high paying online jobs from scratch. Hummus emphasizes that you don’t need expensive certifications or years of experience. Instead, he points to specific platforms and strategies that can get you hired quickly.

He also introduces the concept of the “quarterback” role — a virtual assistant or project manager who coordinates remote teams. This role is secretly wearing five different job titles, making it accessible to anyone with strong organizational skills.

AI Didn’t Kill These Careers — It Filtered Out the Fakes

A common fear is that AI will replace human workers. However, Hummus argues that AI has actually made certain high paying online jobs more valuable. He explains that AI tools can handle repetitive tasks, but they still need humans to set strategy, handle nuance, and build relationships.

For instance, the sales career path he discusses is often overlooked but incredibly lucrative. Sales roles that require empathy, negotiation, and trust-building are harder to automate. Similarly, technical writing and UX design have become more critical as companies roll out AI-powered products.

The Hardest Job on the List — And Why It’s Worth Chasing

Hummus doesn’t sugarcoat the challenges. He identifies one role that is the hardest to break into but offers the highest rewards. This job requires a unique combination of technical skills and creativity, but the earning potential is massive.

He also shares a real job posting that will make you rethink everything you know about remote work. The posting reveals that many companies are willing to pay top dollar for skills that aren’t taught in traditional schools.

The One Habit That Changes Everything

To wrap up, Hummus shares the one habit that can transform any career trajectory: continuous learning. He emphasizes that the most successful remote workers invest in themselves daily, whether through online courses, networking, or side projects.

If you’re ready to explore these high paying online jobs and learn how to land one, the full video is packed with actionable insights. Watch the complete breakdown above to see which role fits your skills and start your journey toward a flexible, lucrative remote career.

Continue Reading

Trending